How to create a kv storage via the user interface
Although the kv storage feature meant to be used in serverless functions, where you call its services through a custom blocs when you use blockly as the language, you can also create a kv storage via the user interface.
-
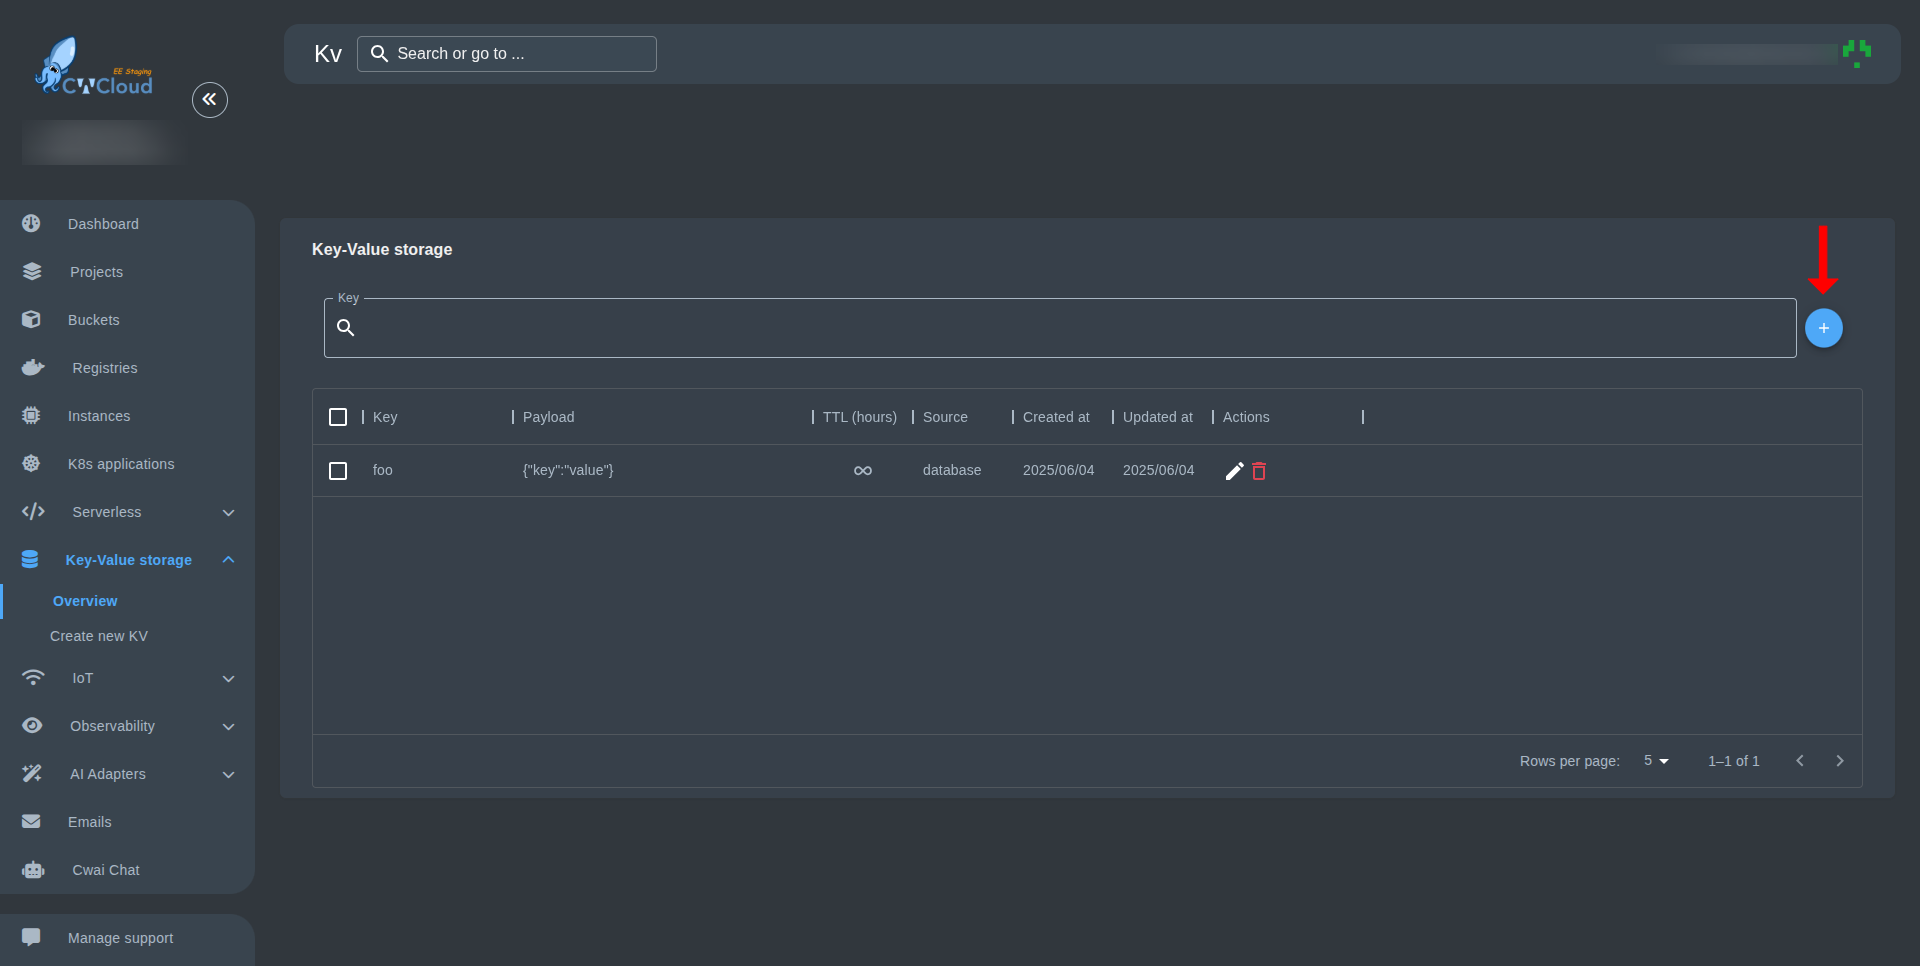
Go to the KV Storage section in your application dashboard. You can see all the existing KV storages you created/going to create here. You can edit or delete them as well.
-
Click on the Create KV Storage button to create a new kv storage.
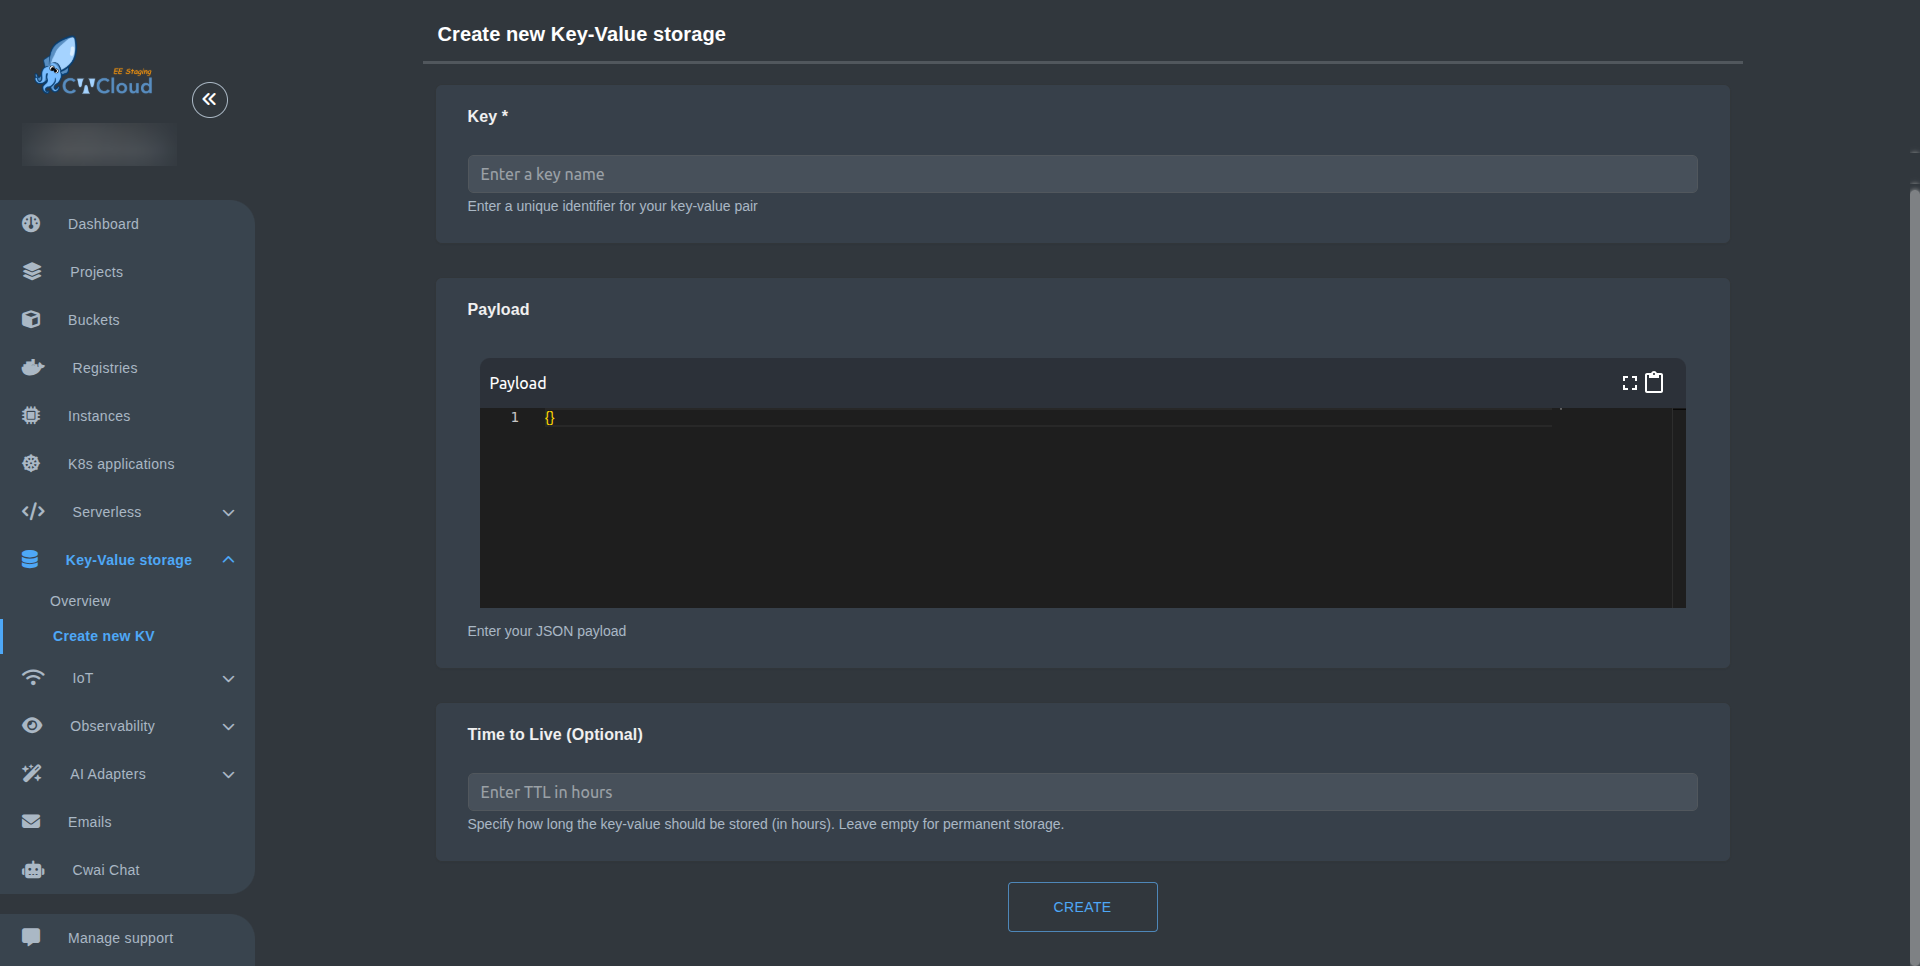
- Fill in the form with the following details:
- Key: A unique identifier for your storage (e.g., "user_preferences").
- Payload: The initial data you want to store, in JSON format (e.g.,
{"theme": "dark", "language": "en"}). - Time to Live (Optional): Set an expiration time for the data in seconds. If you leave this blank, the data will be permanent.
-
Click the Create button to save your new KV storage.
-
Your new KV storage will now appear in the list, and you can use it in your serverless functions too.