OIDC configurations
Google
- Go to Google Cloud Console (https://console.cloud.google.com)
- Create a new project or select an existing one
- Click on the project dropdown at the top
- Click "New Project" or select existing
- If creating new, enter name and click "Create"
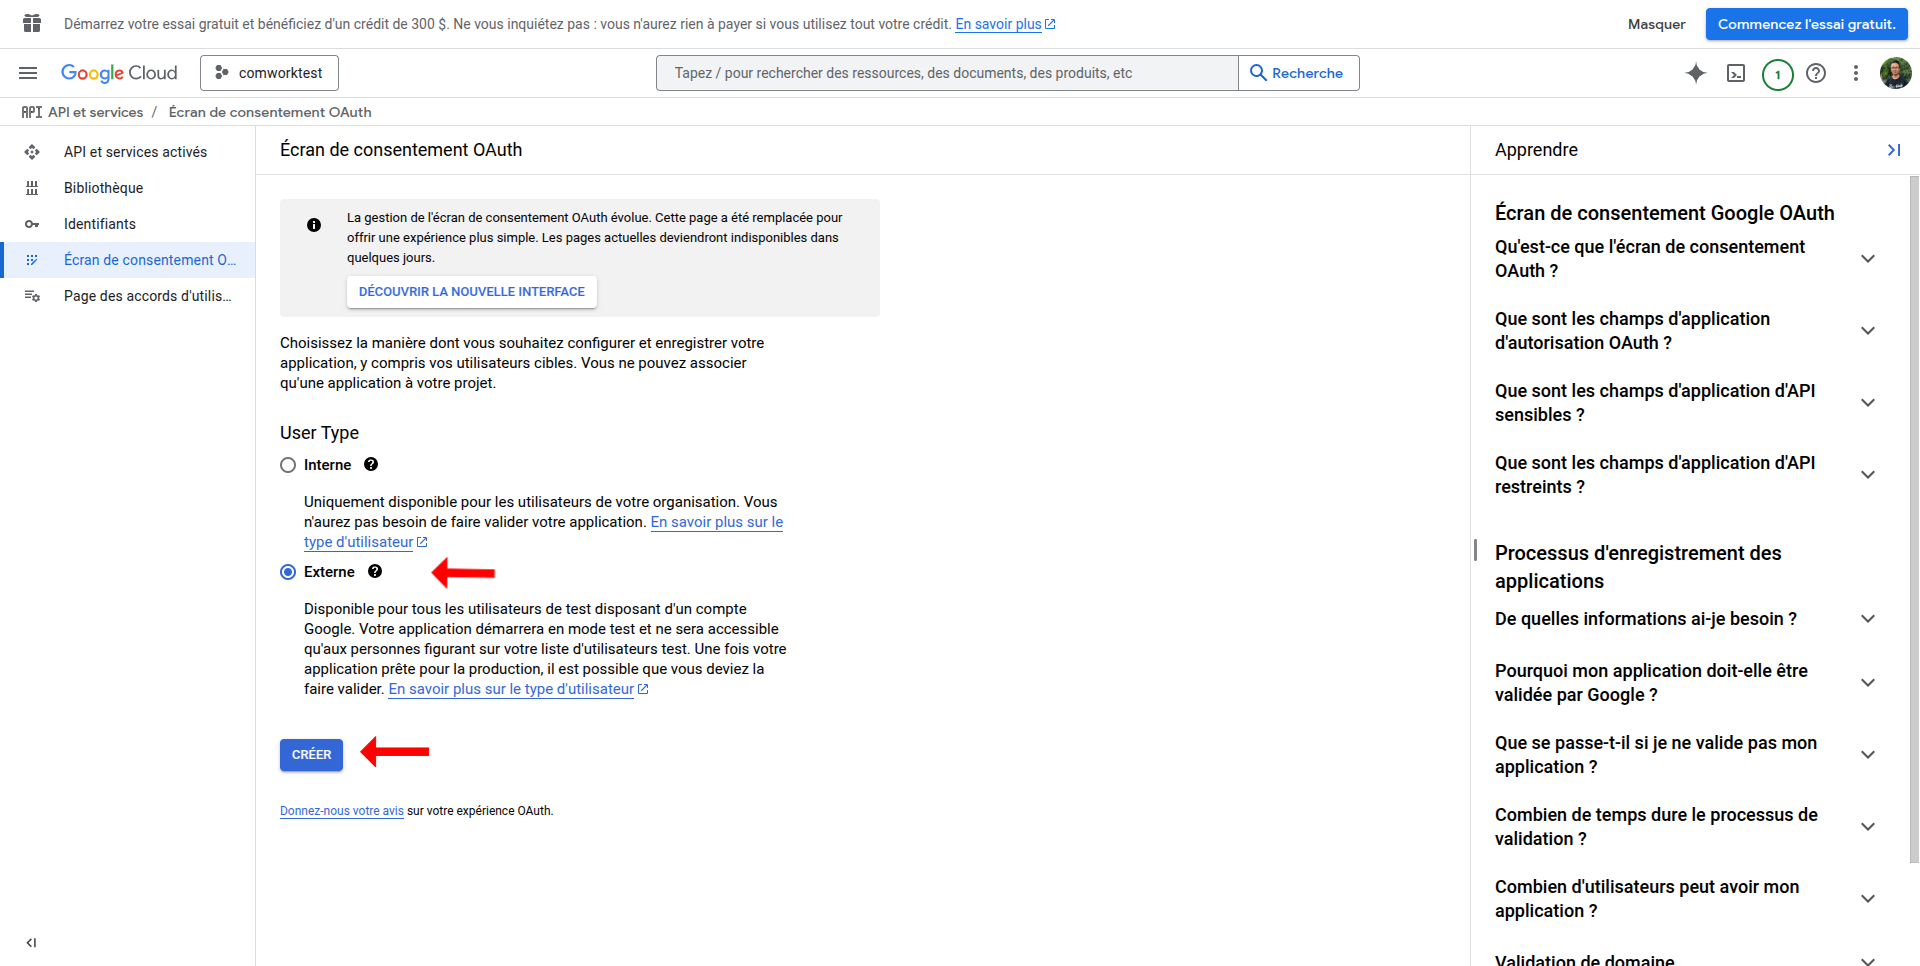
- Enable OAuth consent screen
- Go to APIs & Services > OAuth consent screen
- Choose External user type
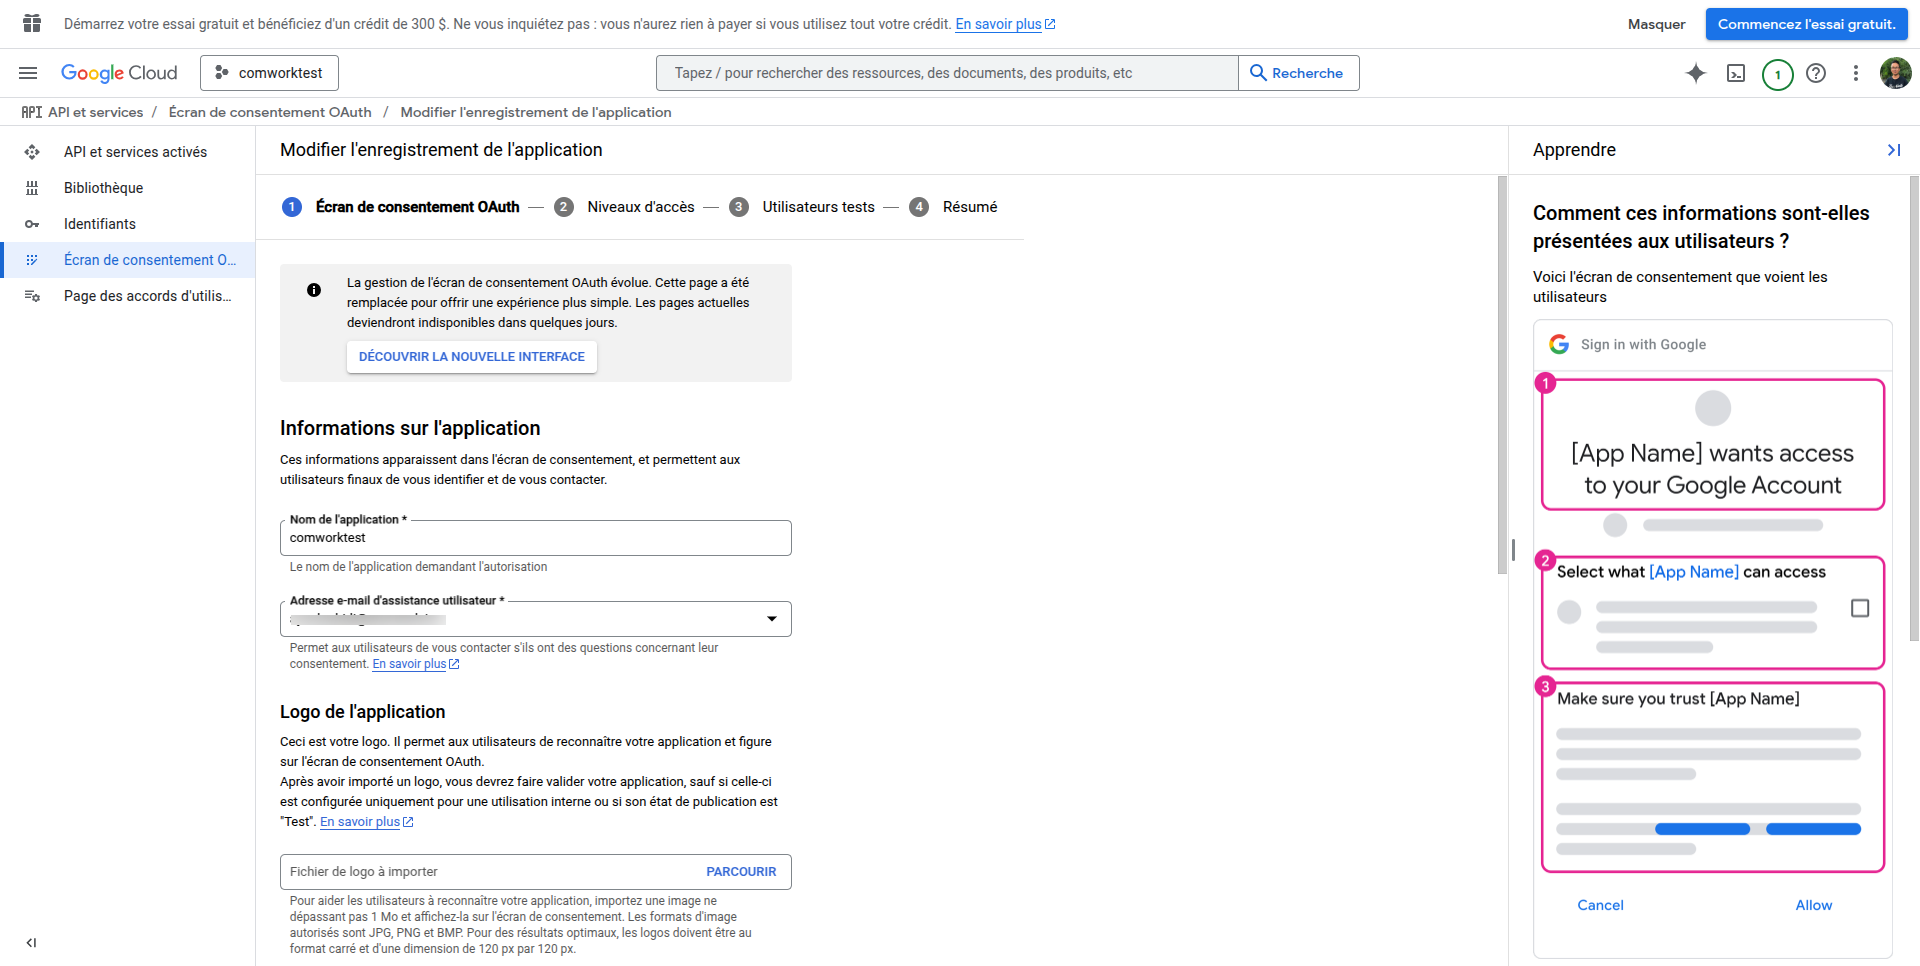
- Fill required fields (app name, user support email, developer contact)
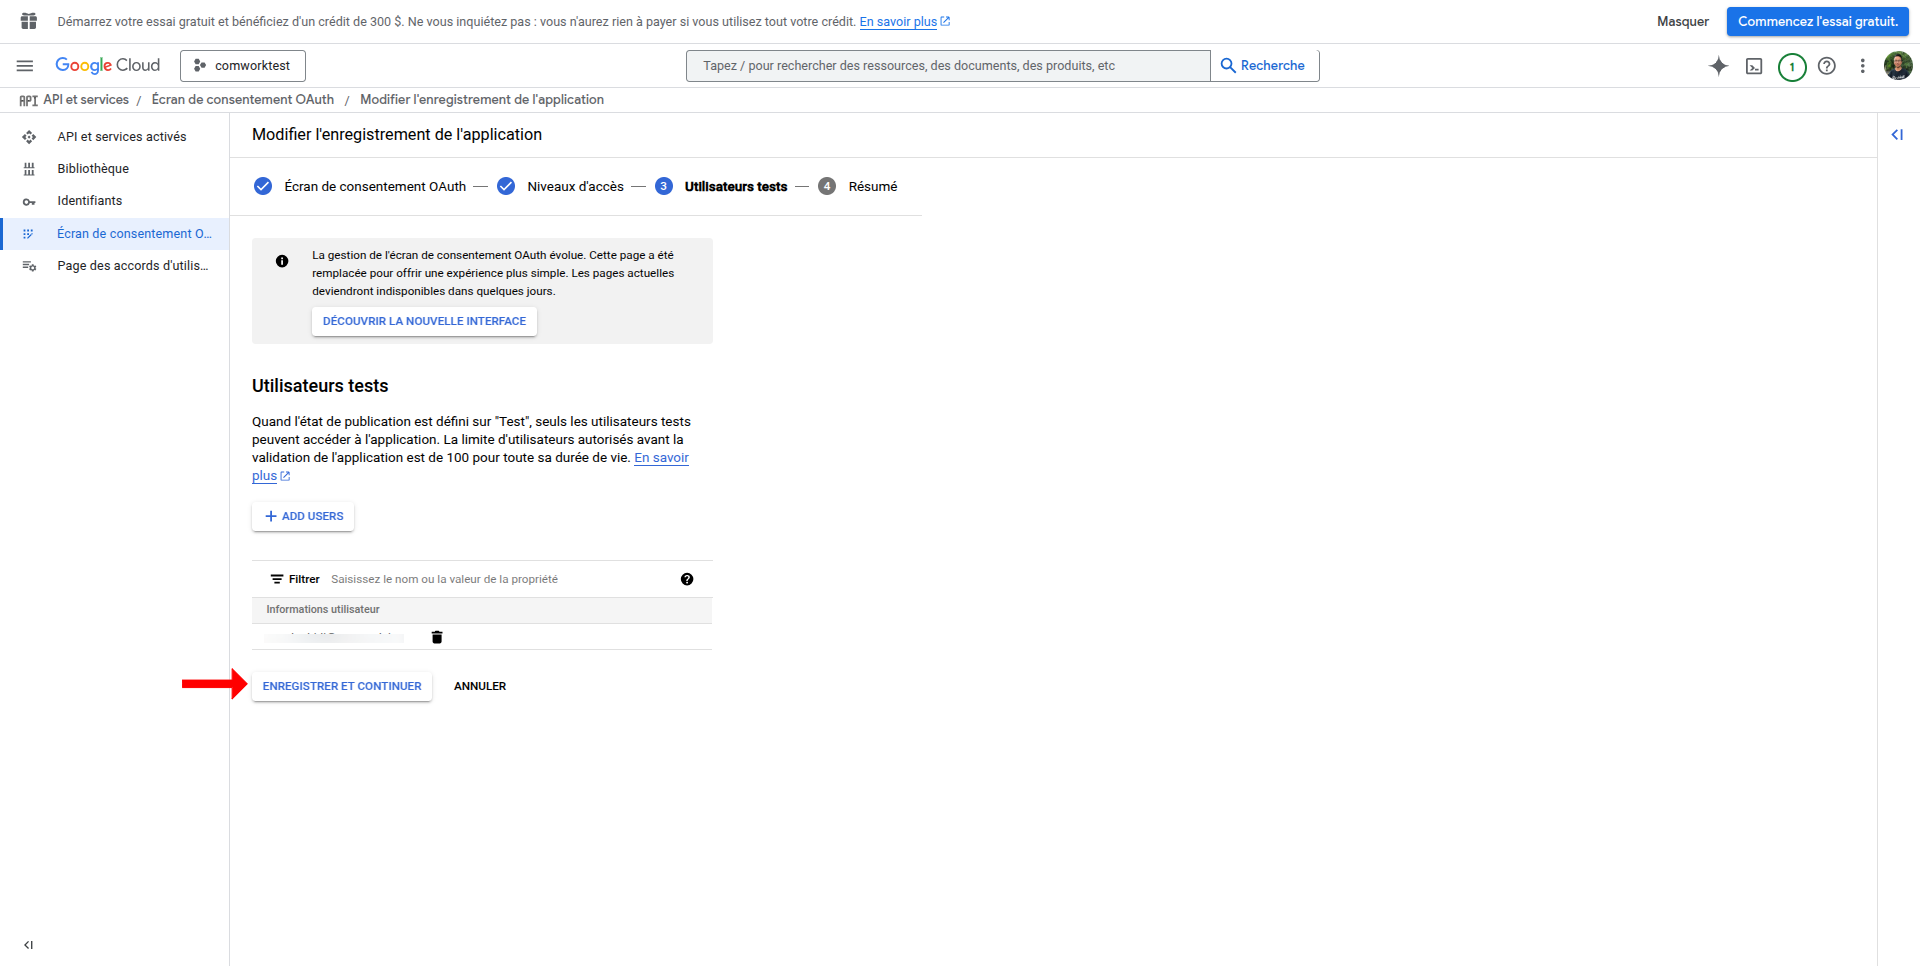
- Under OAuth consent screen, add test users if you're in test mode to make specific users able to user the newly added OIDC feature.
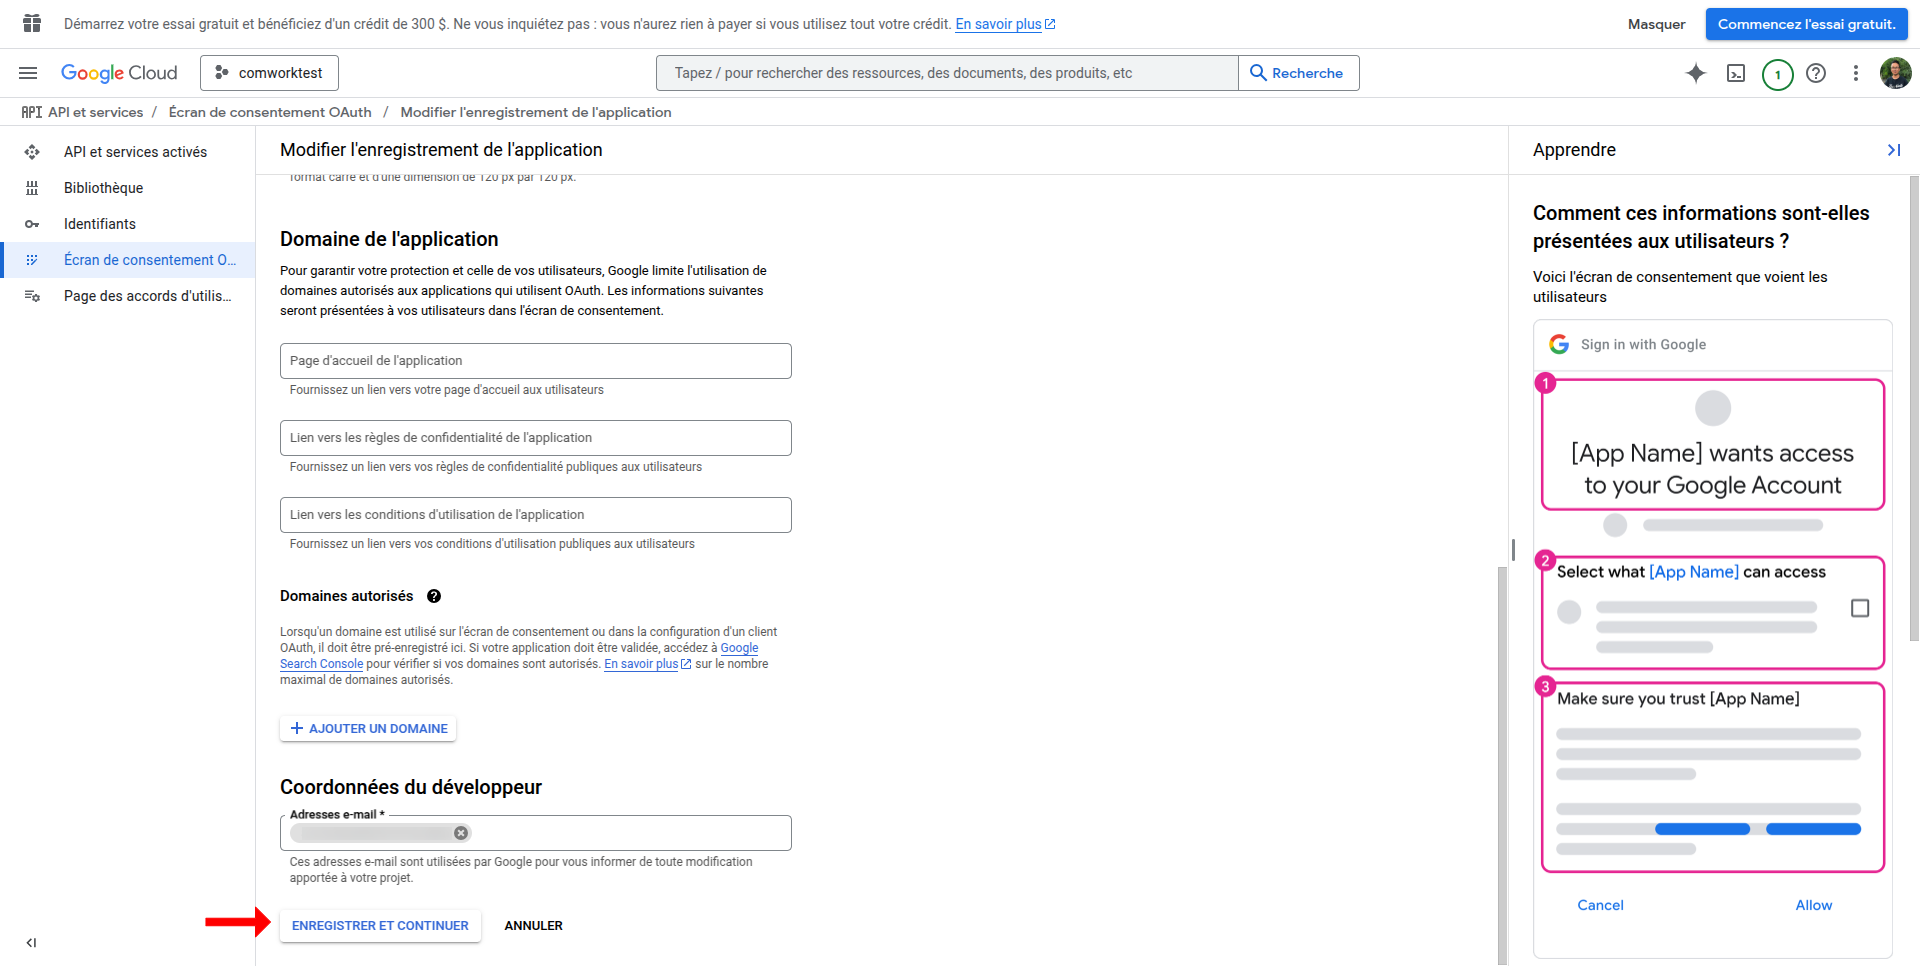
- Add authorized domains including your platform's domain
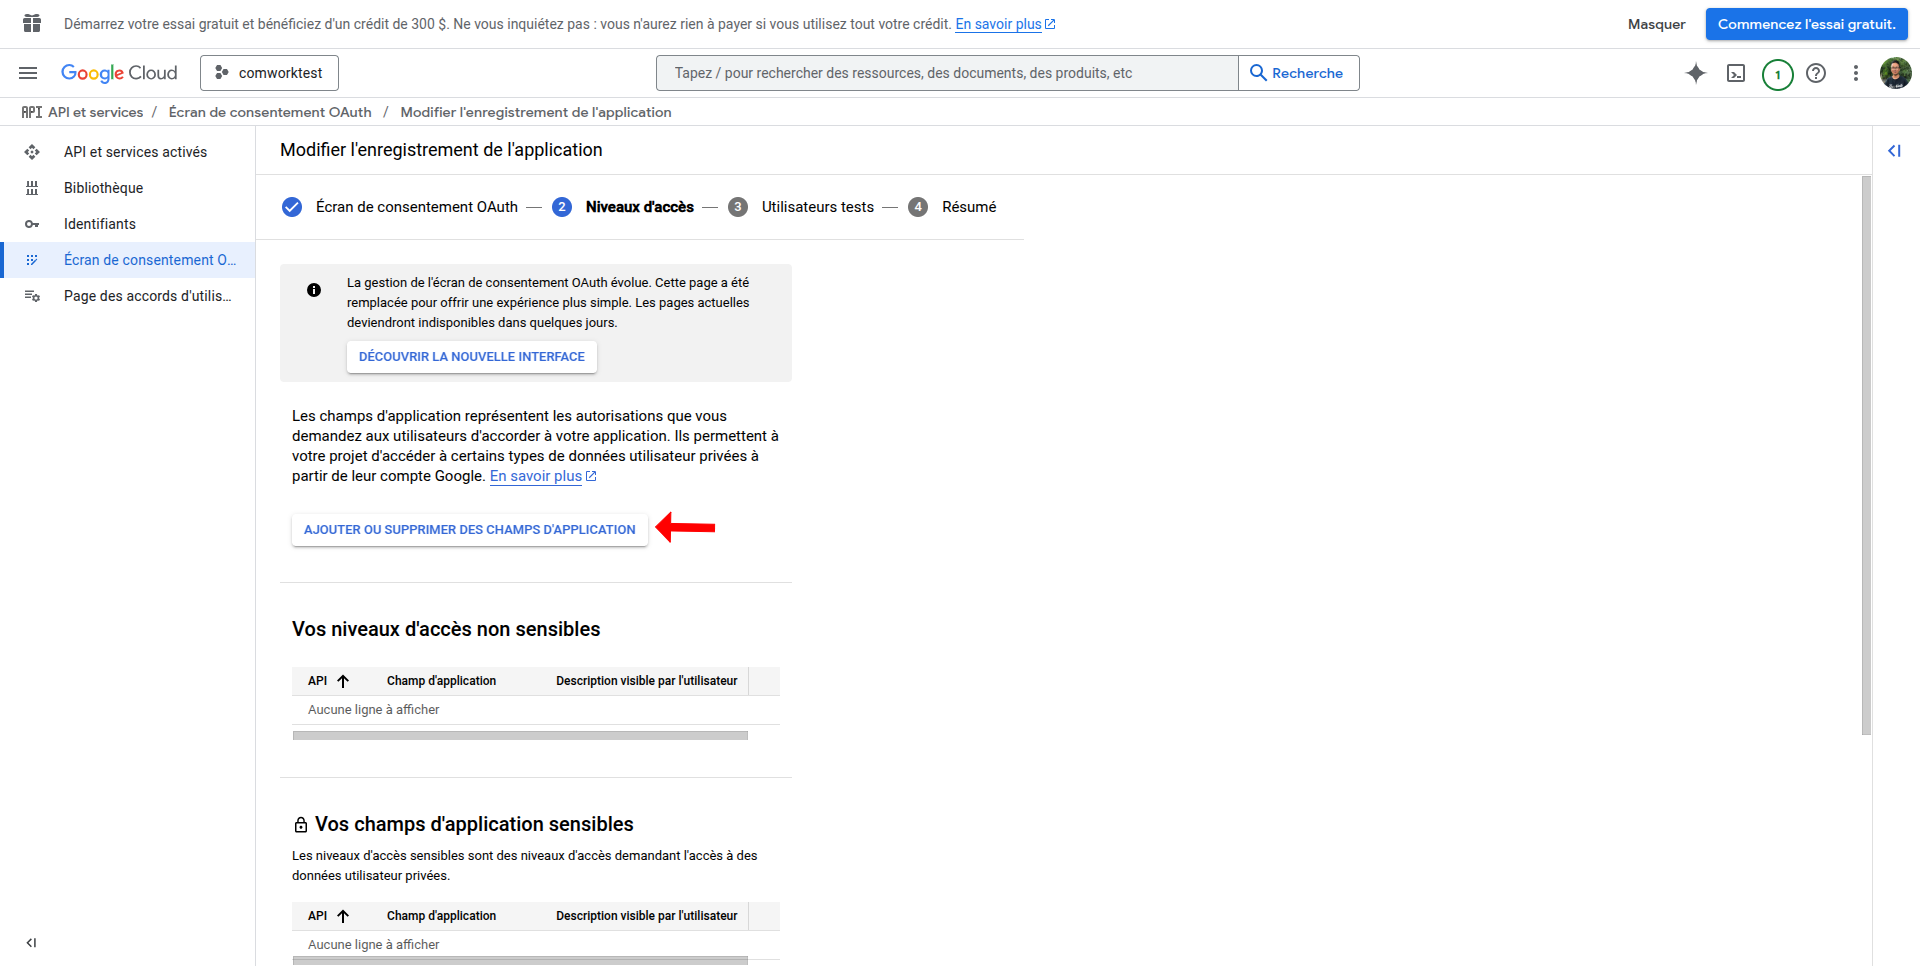
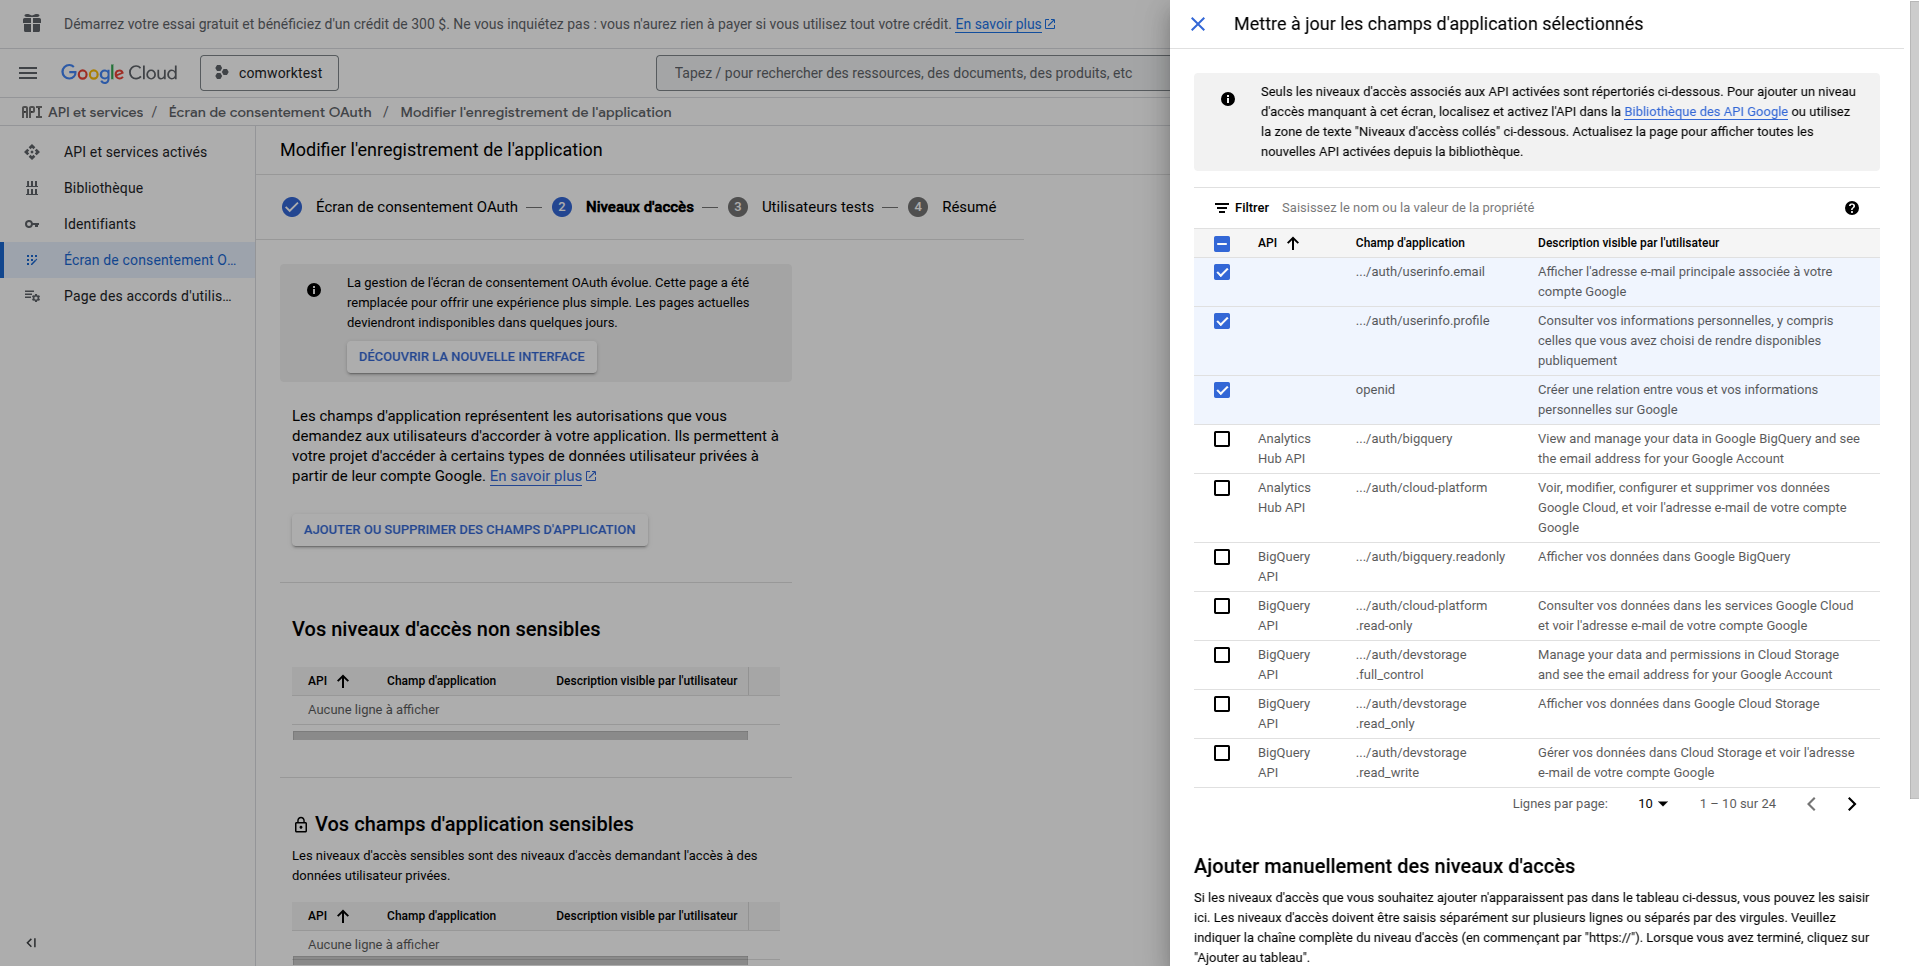
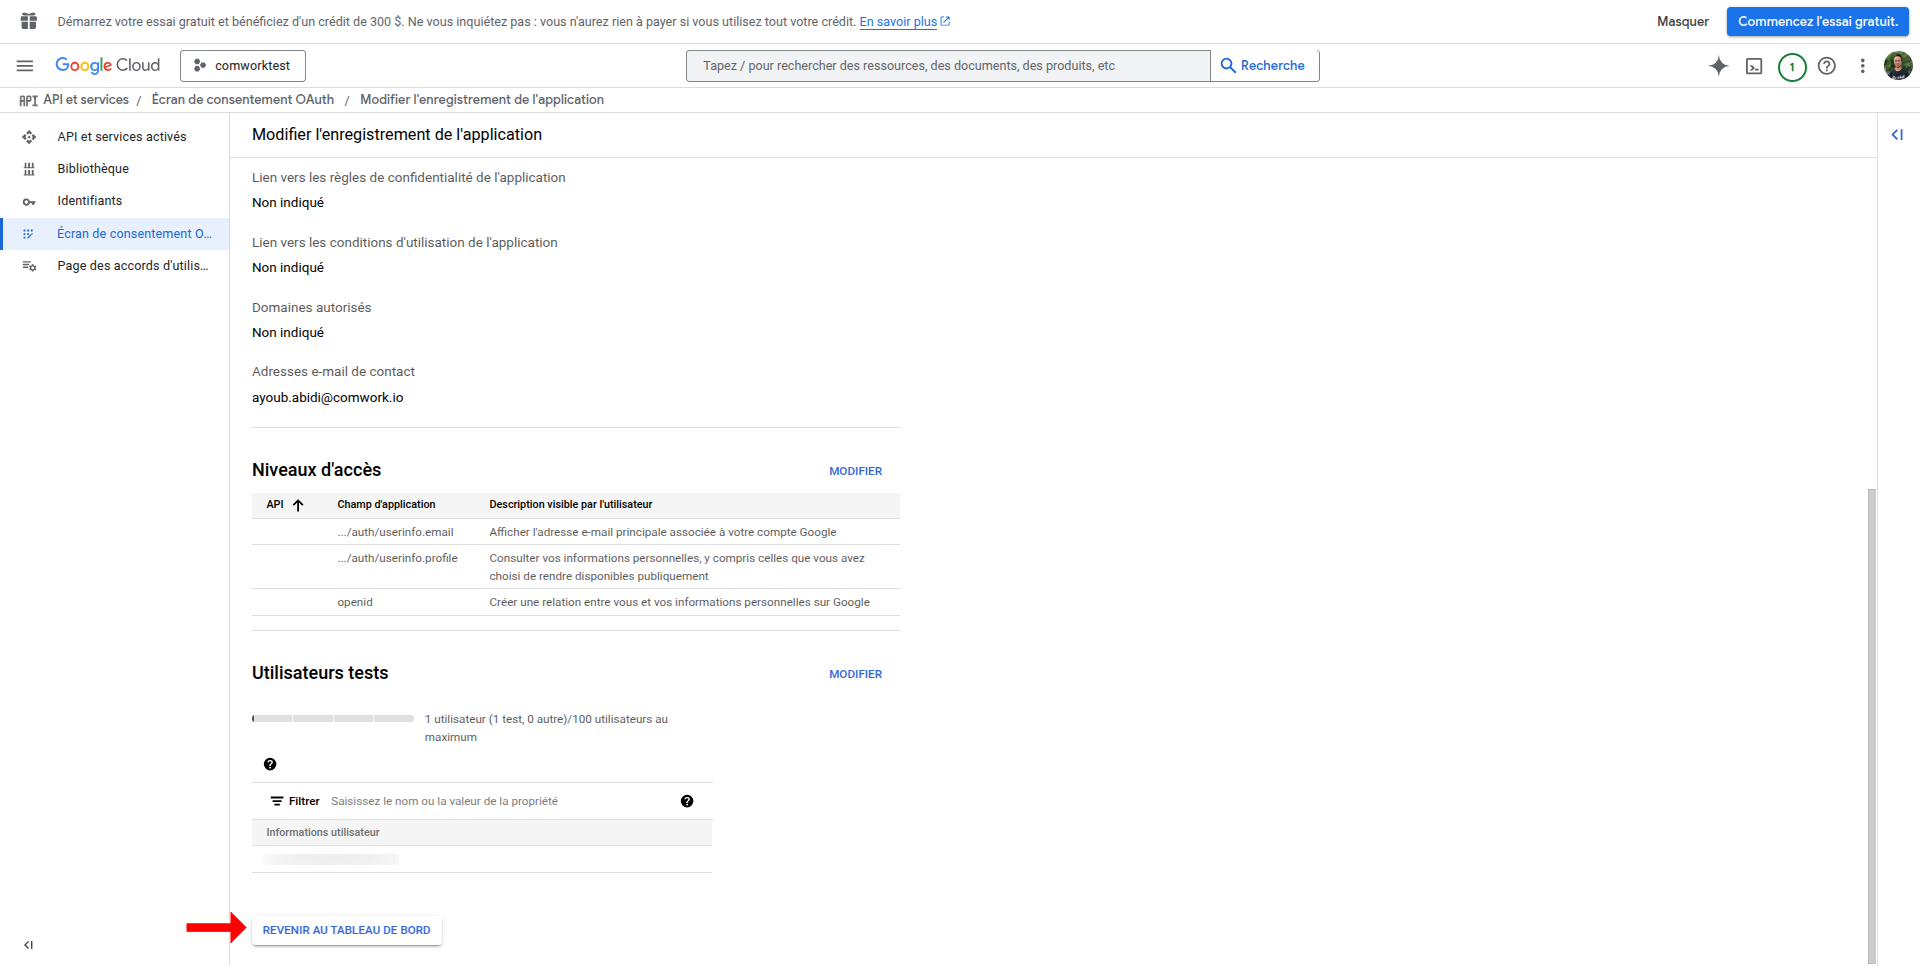
- Enable required Google APIs (like userinfo.email, userinfo.profile, and openid) if needed
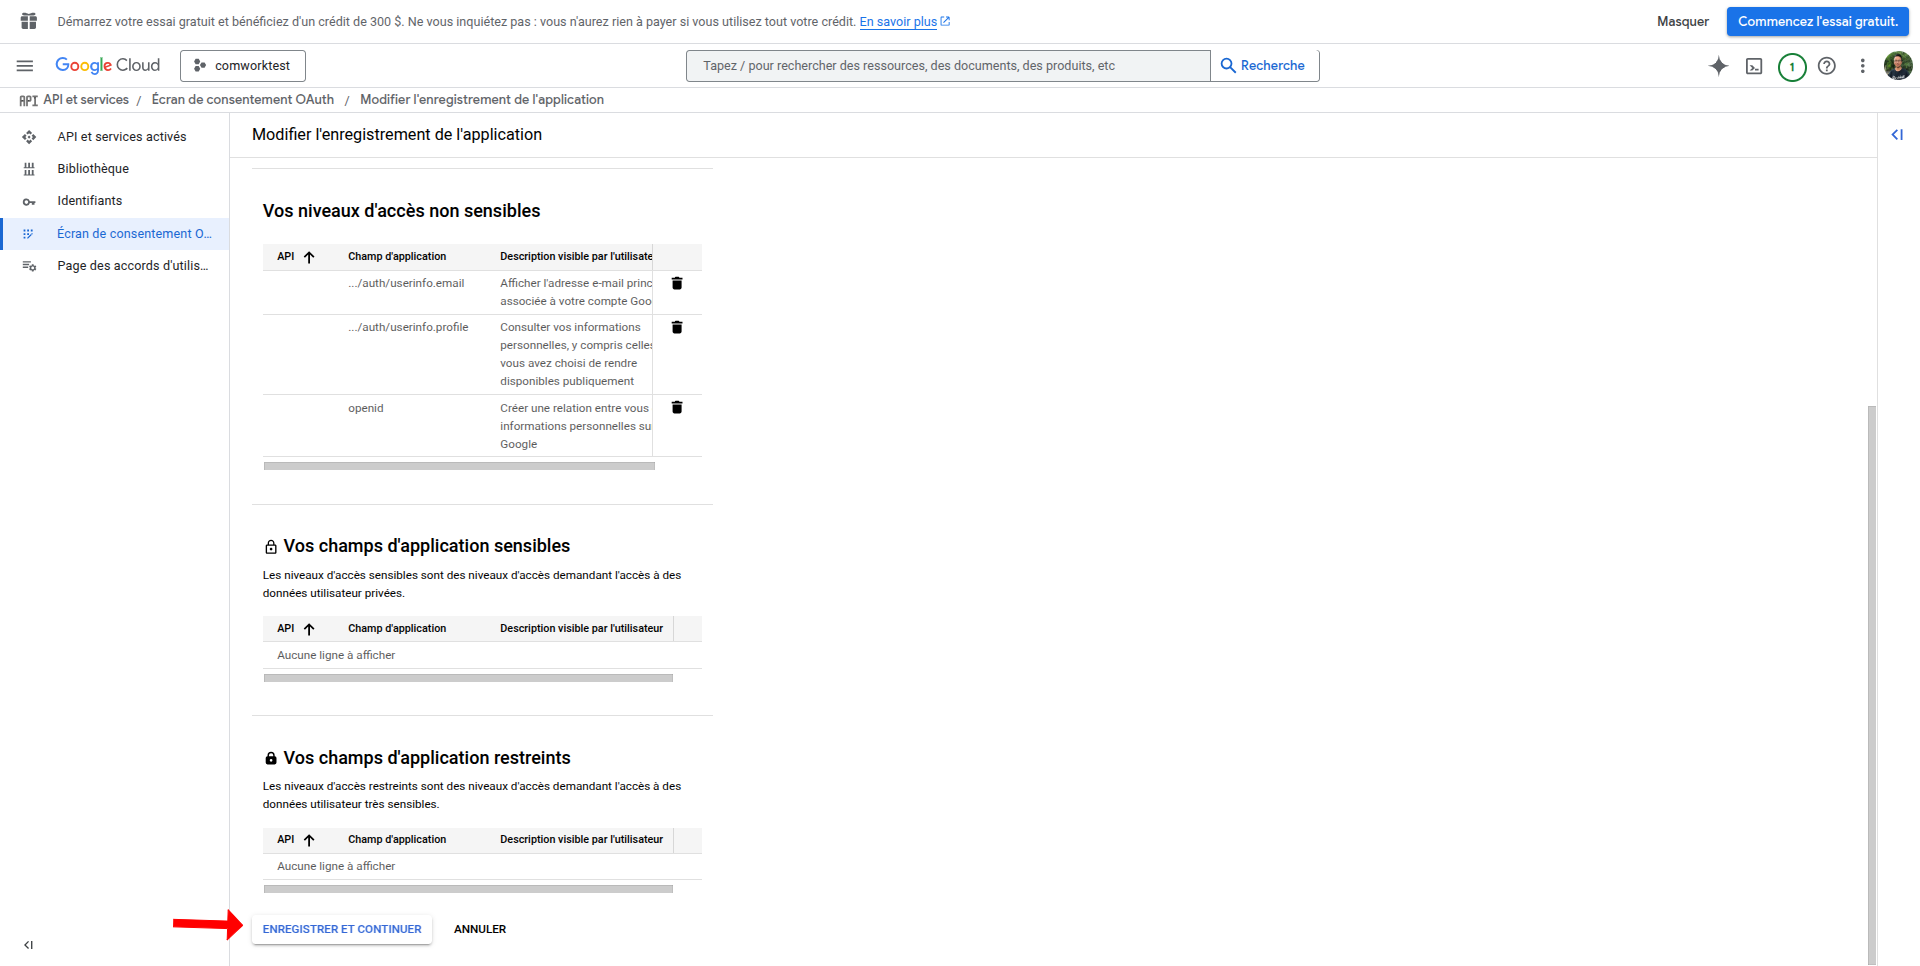
- Save and continue


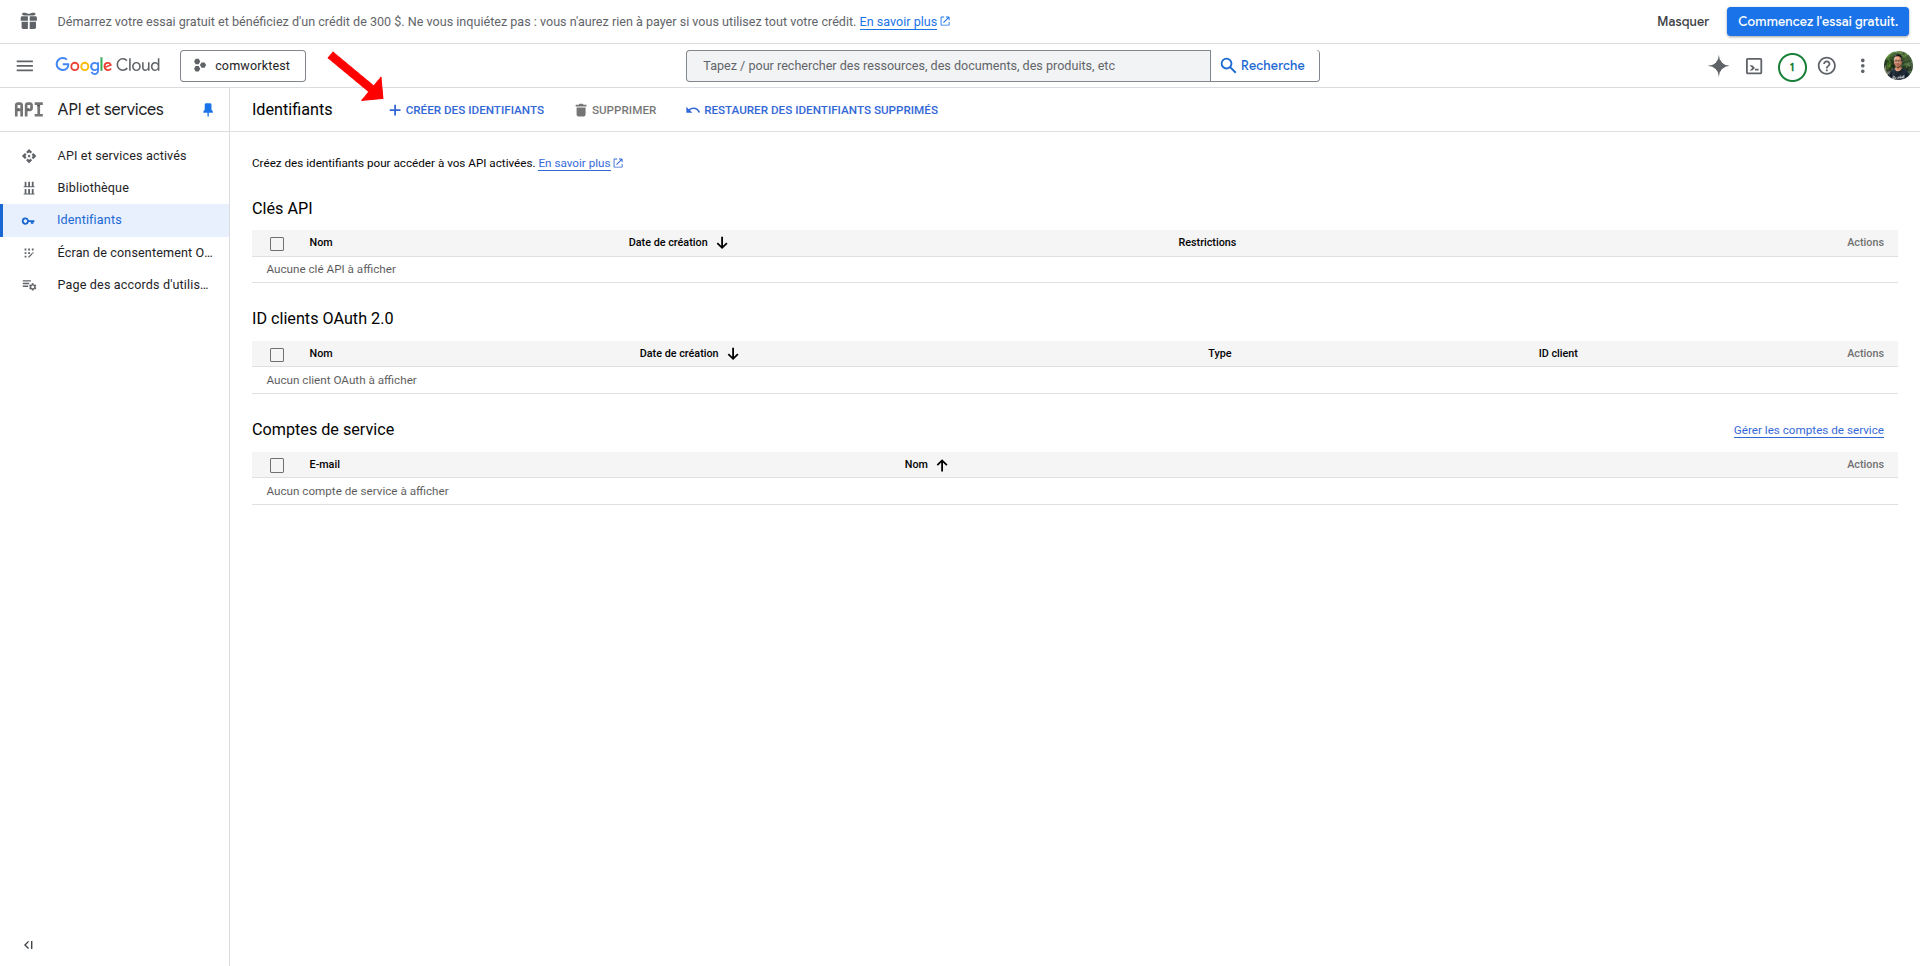
- Configure OAuth credentials
- Go to APIs & Services > Credentials
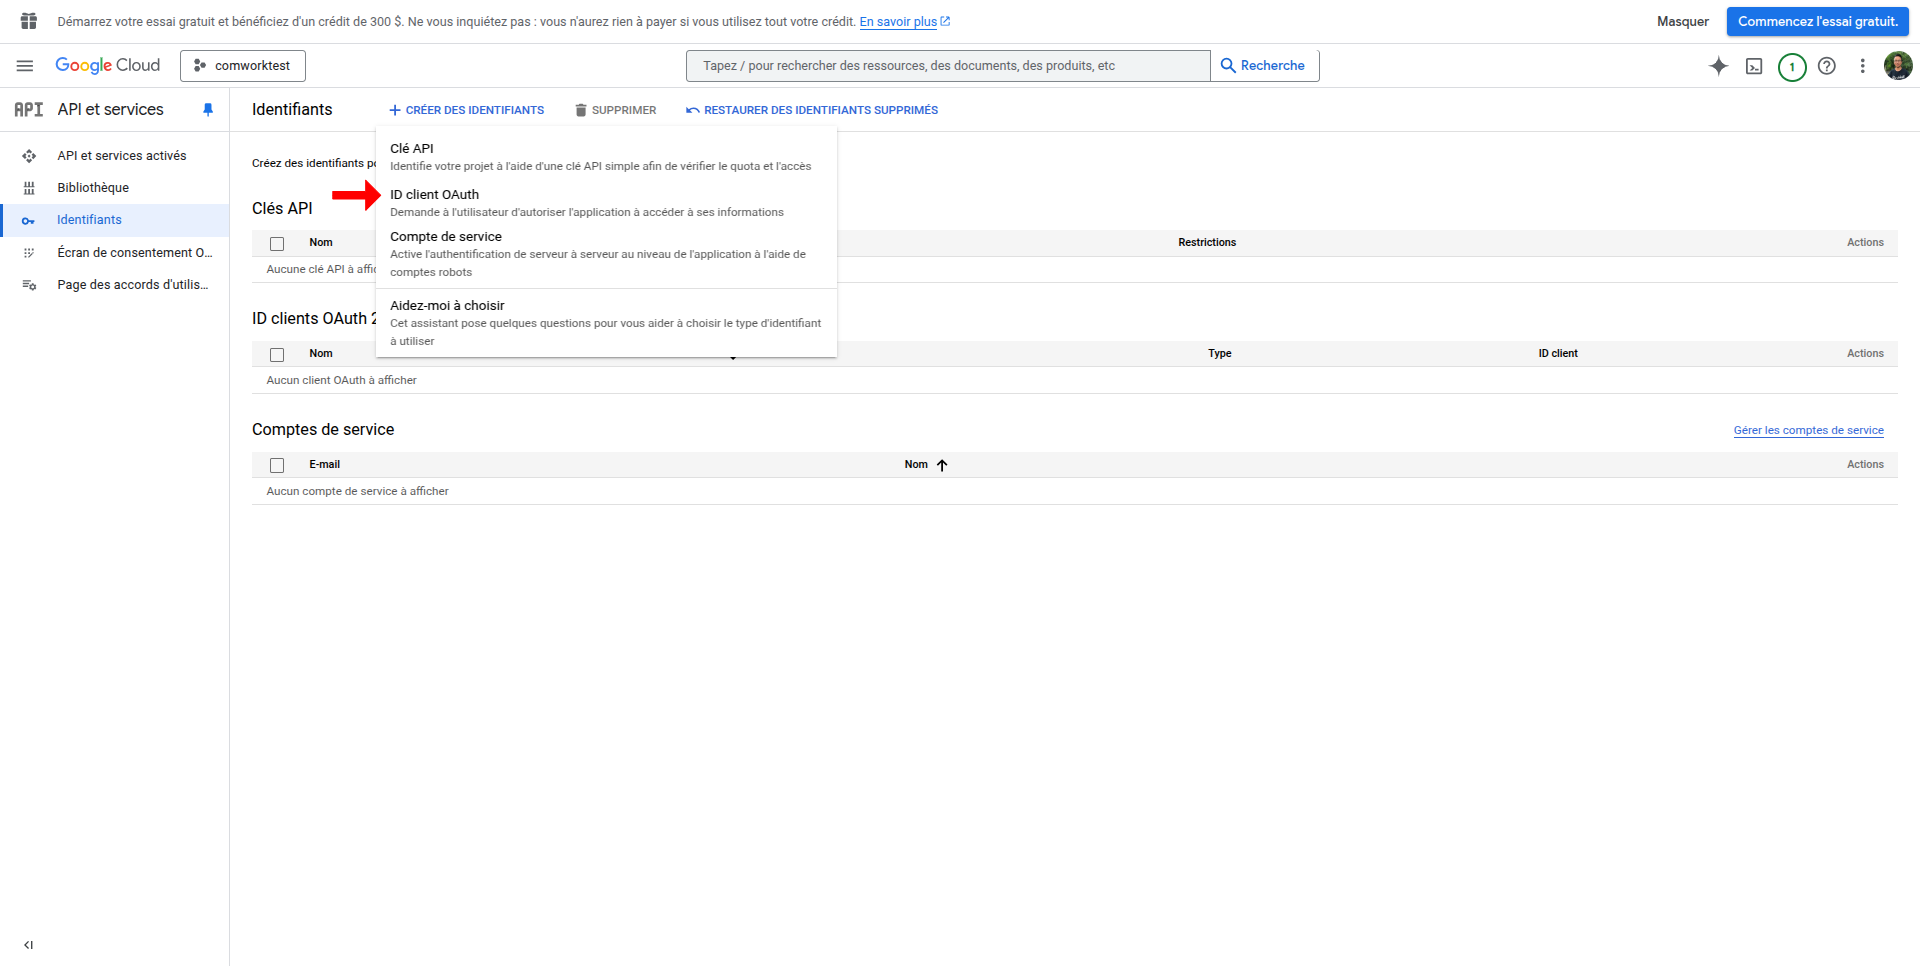
- Click "Create Credentials" > OAuth client ID
- Select Web application as application type
- Add name for the OAuth client
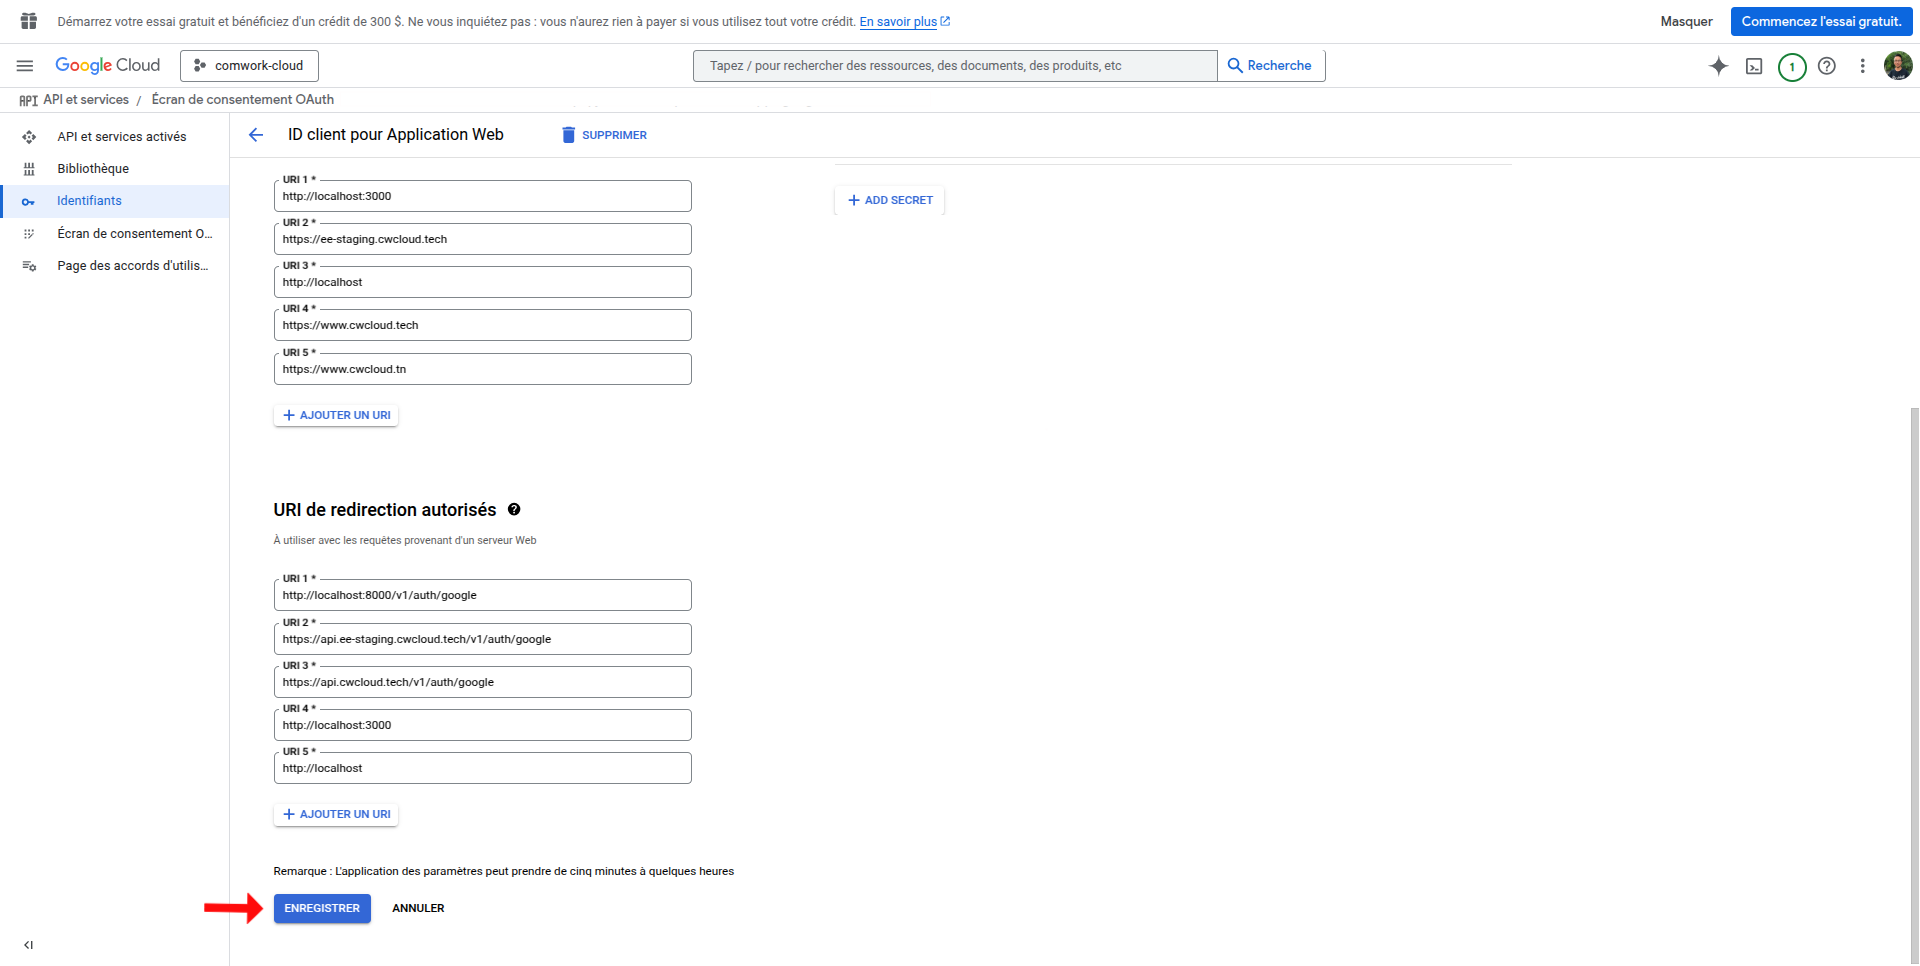
- Add any additional authorized JavaScript origins and redirect URIs as needed
- Click on Create
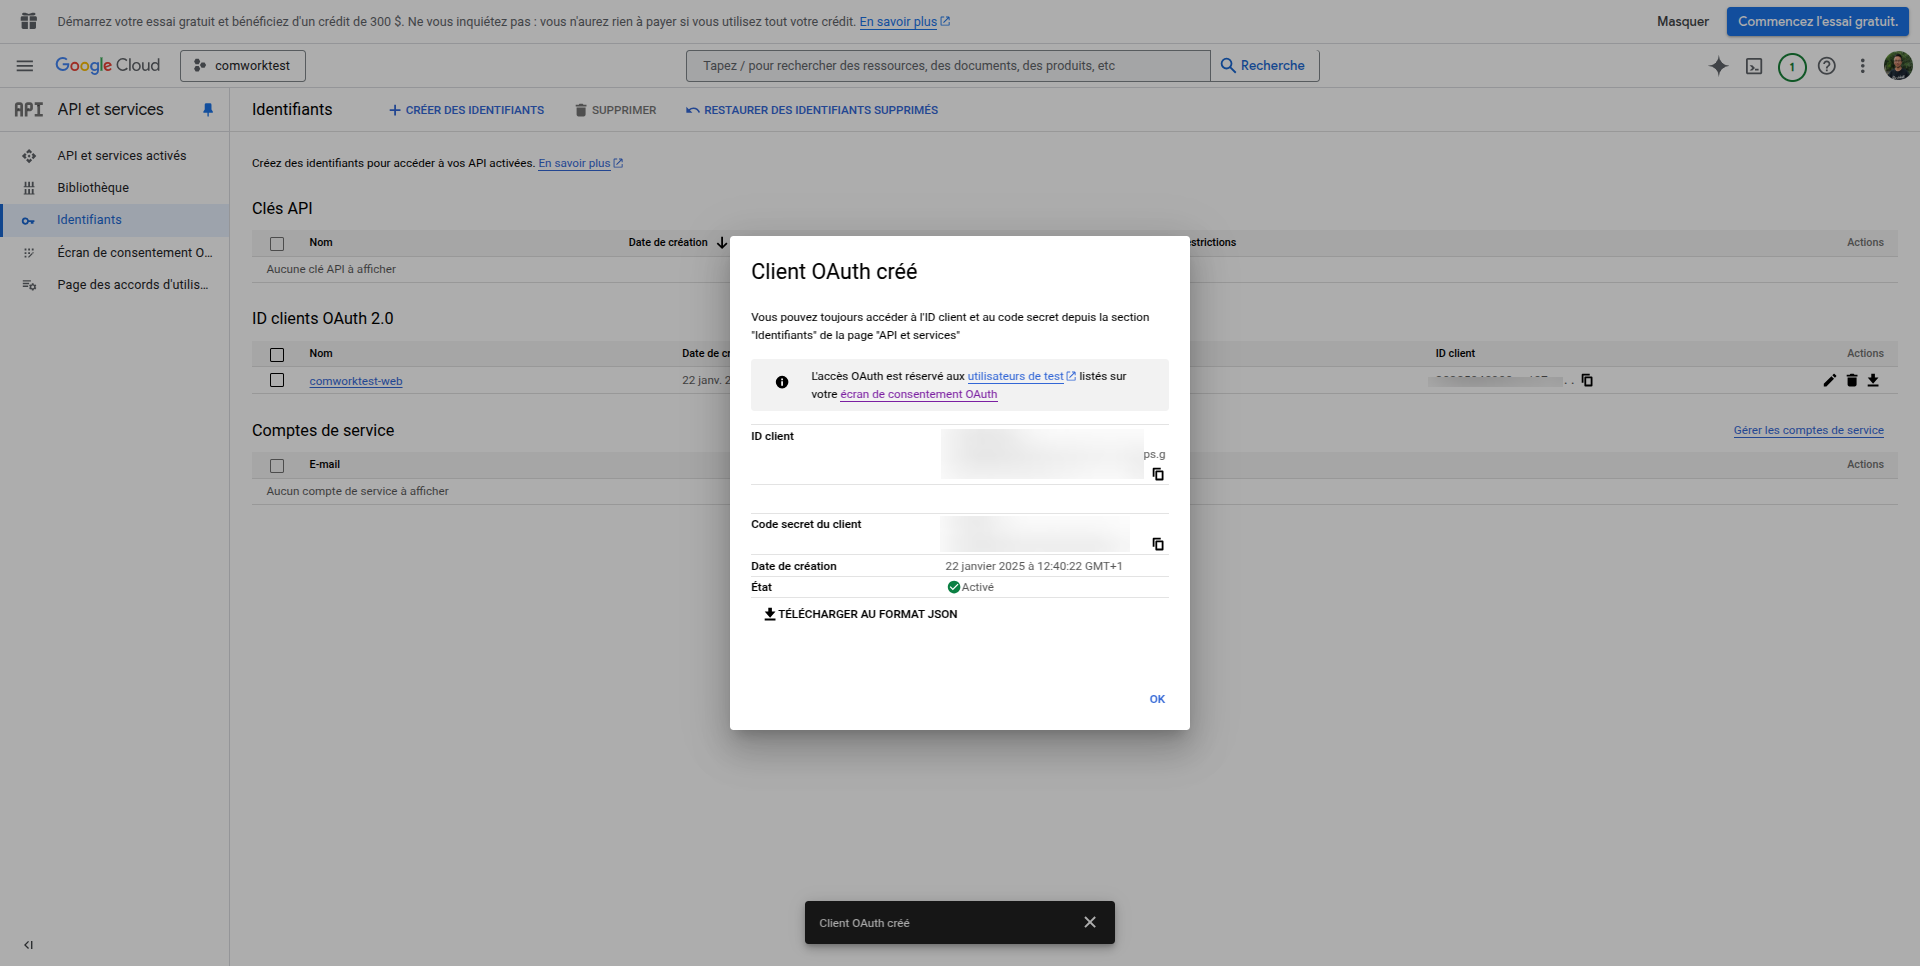
- Get credentials
- After creation, you'll see the Client ID and Client Secret
- Client Secret is shown only once, so store it safely
- Then finaly, fill the following environment variables:
OIDC_GOOGLE_CLIENT_IDon the frontendOIDC_GOOGLE_CLIENT_IDandOIDC_GITHUB_CLIENT_SECRETon the backend
Github
- Go to GitHub Developer Settings (https://github.com/settings/developers)
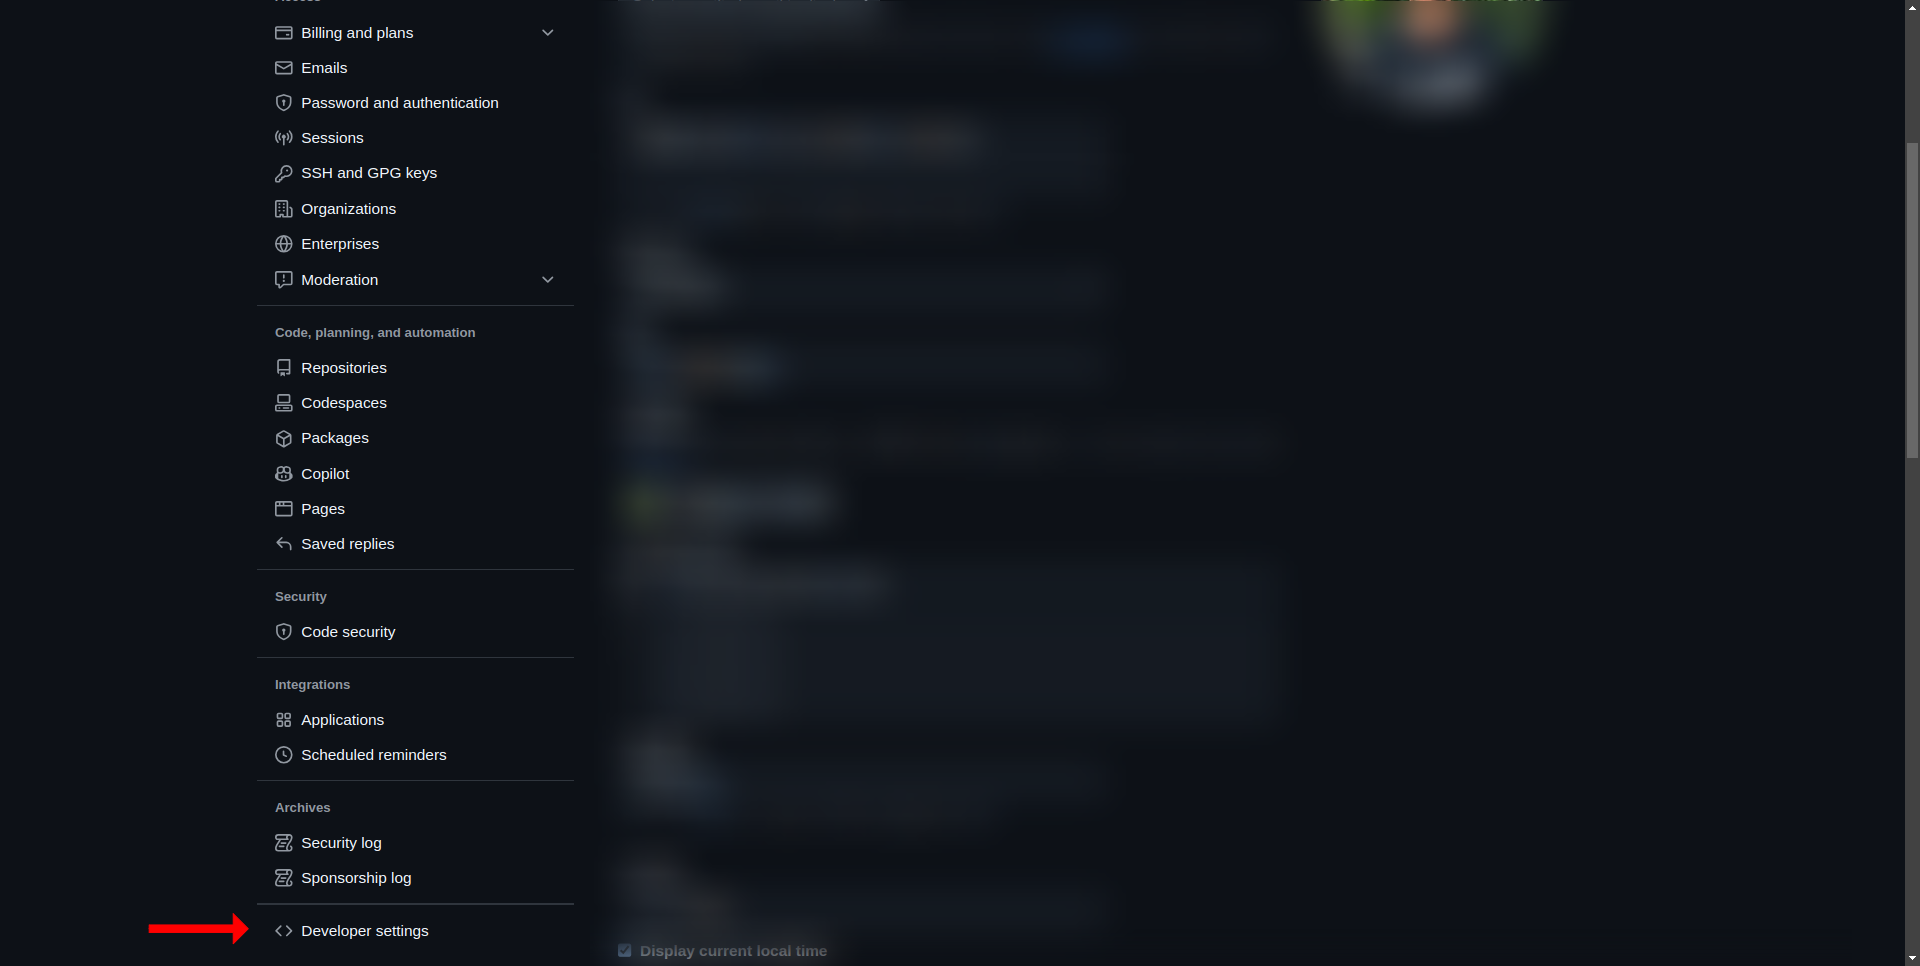
- Register a new OAuth application
- Click on "New OAuth App"
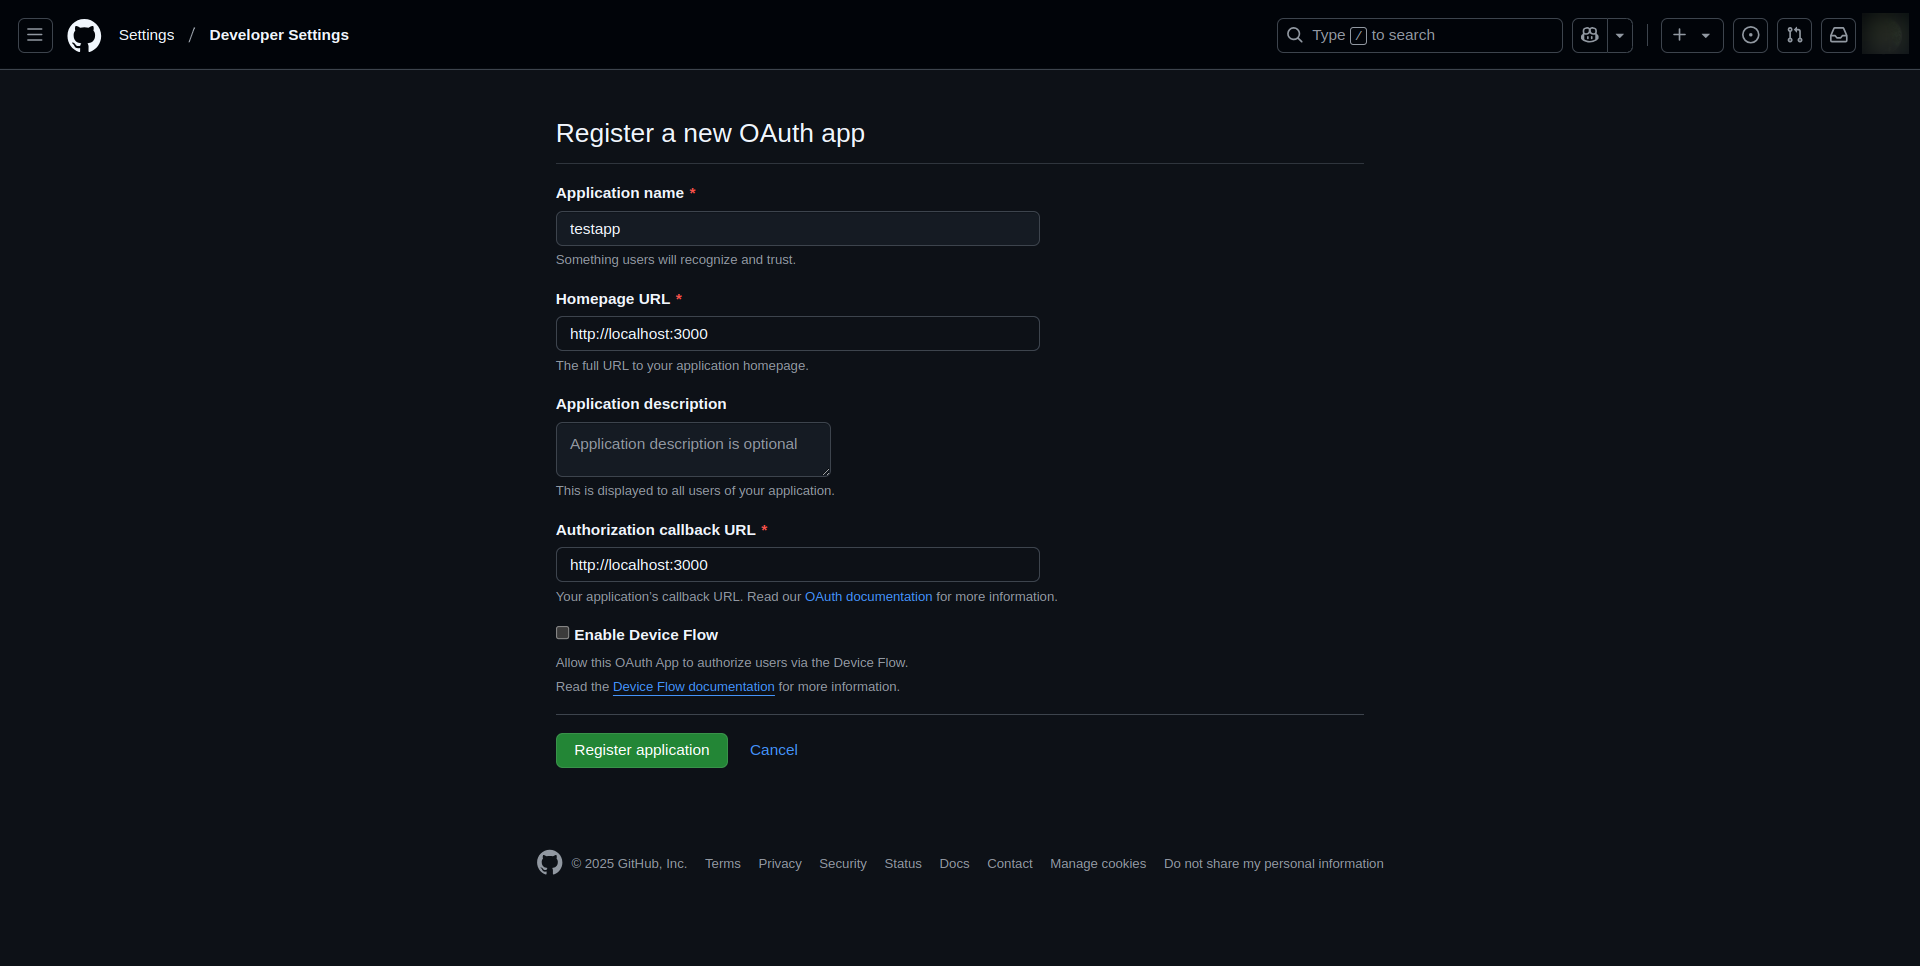
- Fill in the required fields:
- __Application name°° - Provide a name for the application
- Homepage URL - Enter your platform's homepage URL
- Authorization callback URL - Provide the redirect URI where GitHub will send authentication responses
- Click "Register application"
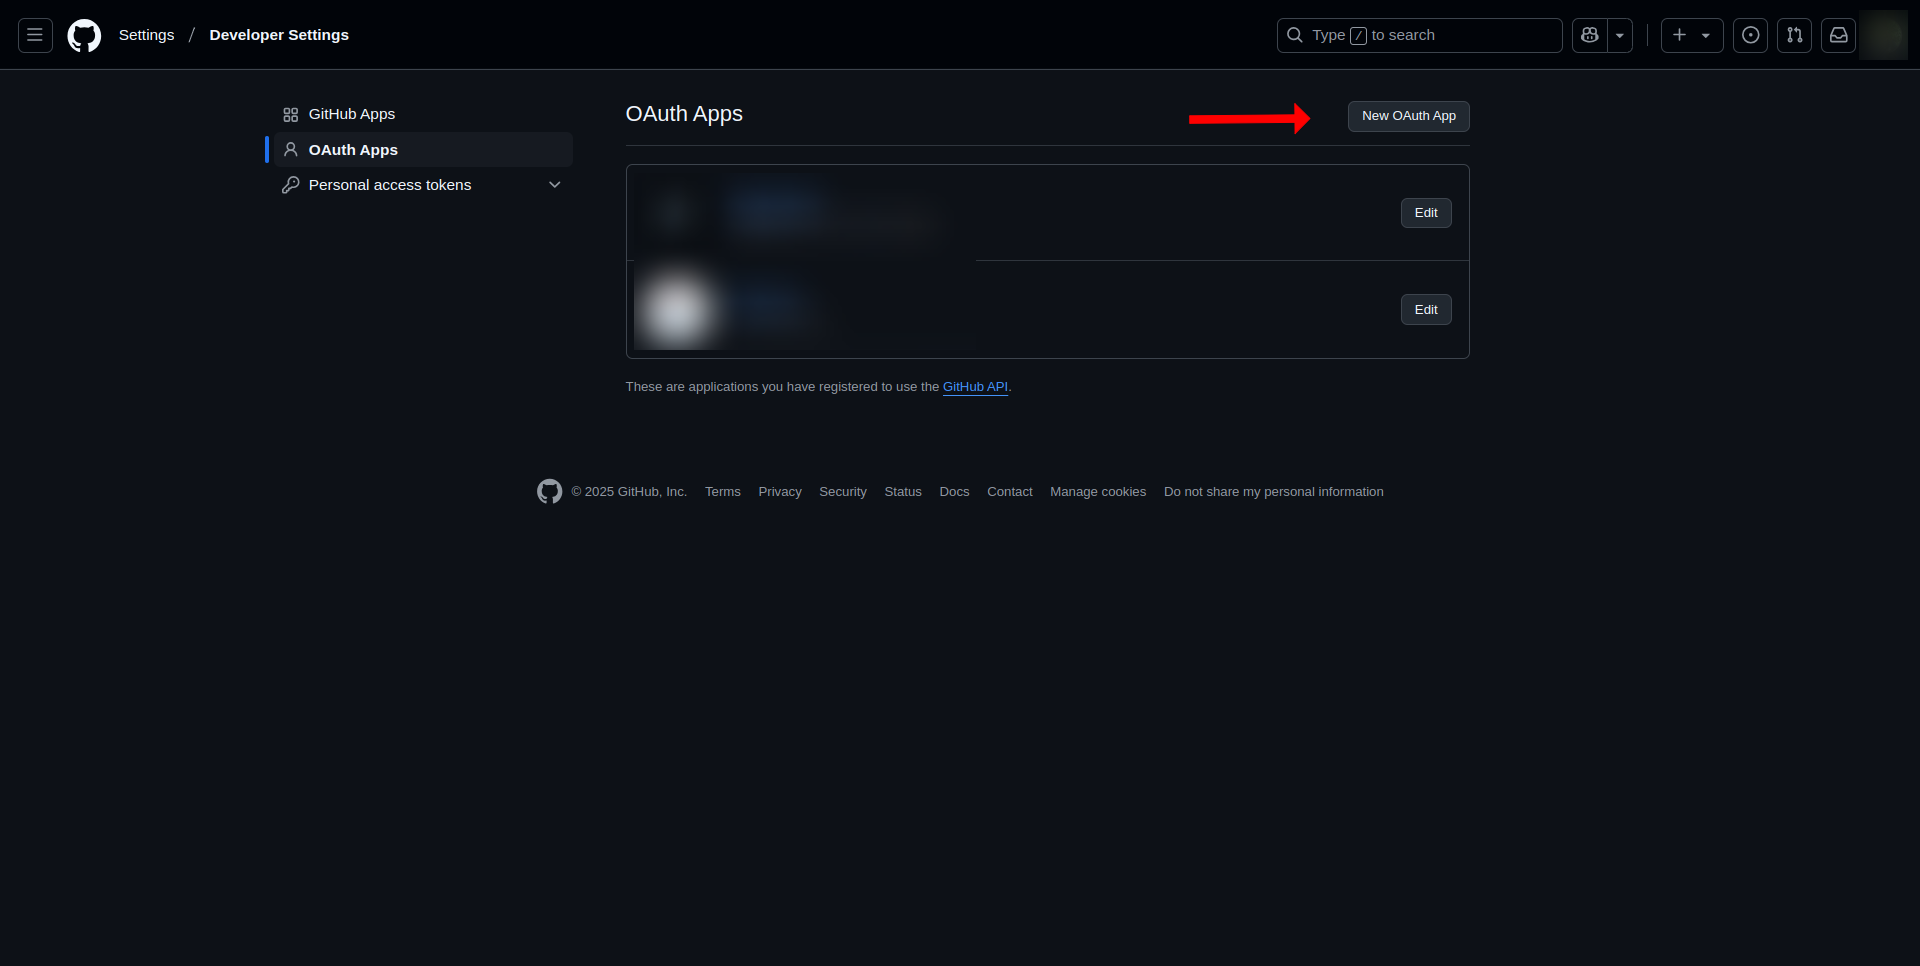
- Retrieve Client ID and Client Secret
- After registration, you will see the Client ID on the application details page
- Click "Generate a new client secret"
- Store the Client Secret securely, as it will be shown only once
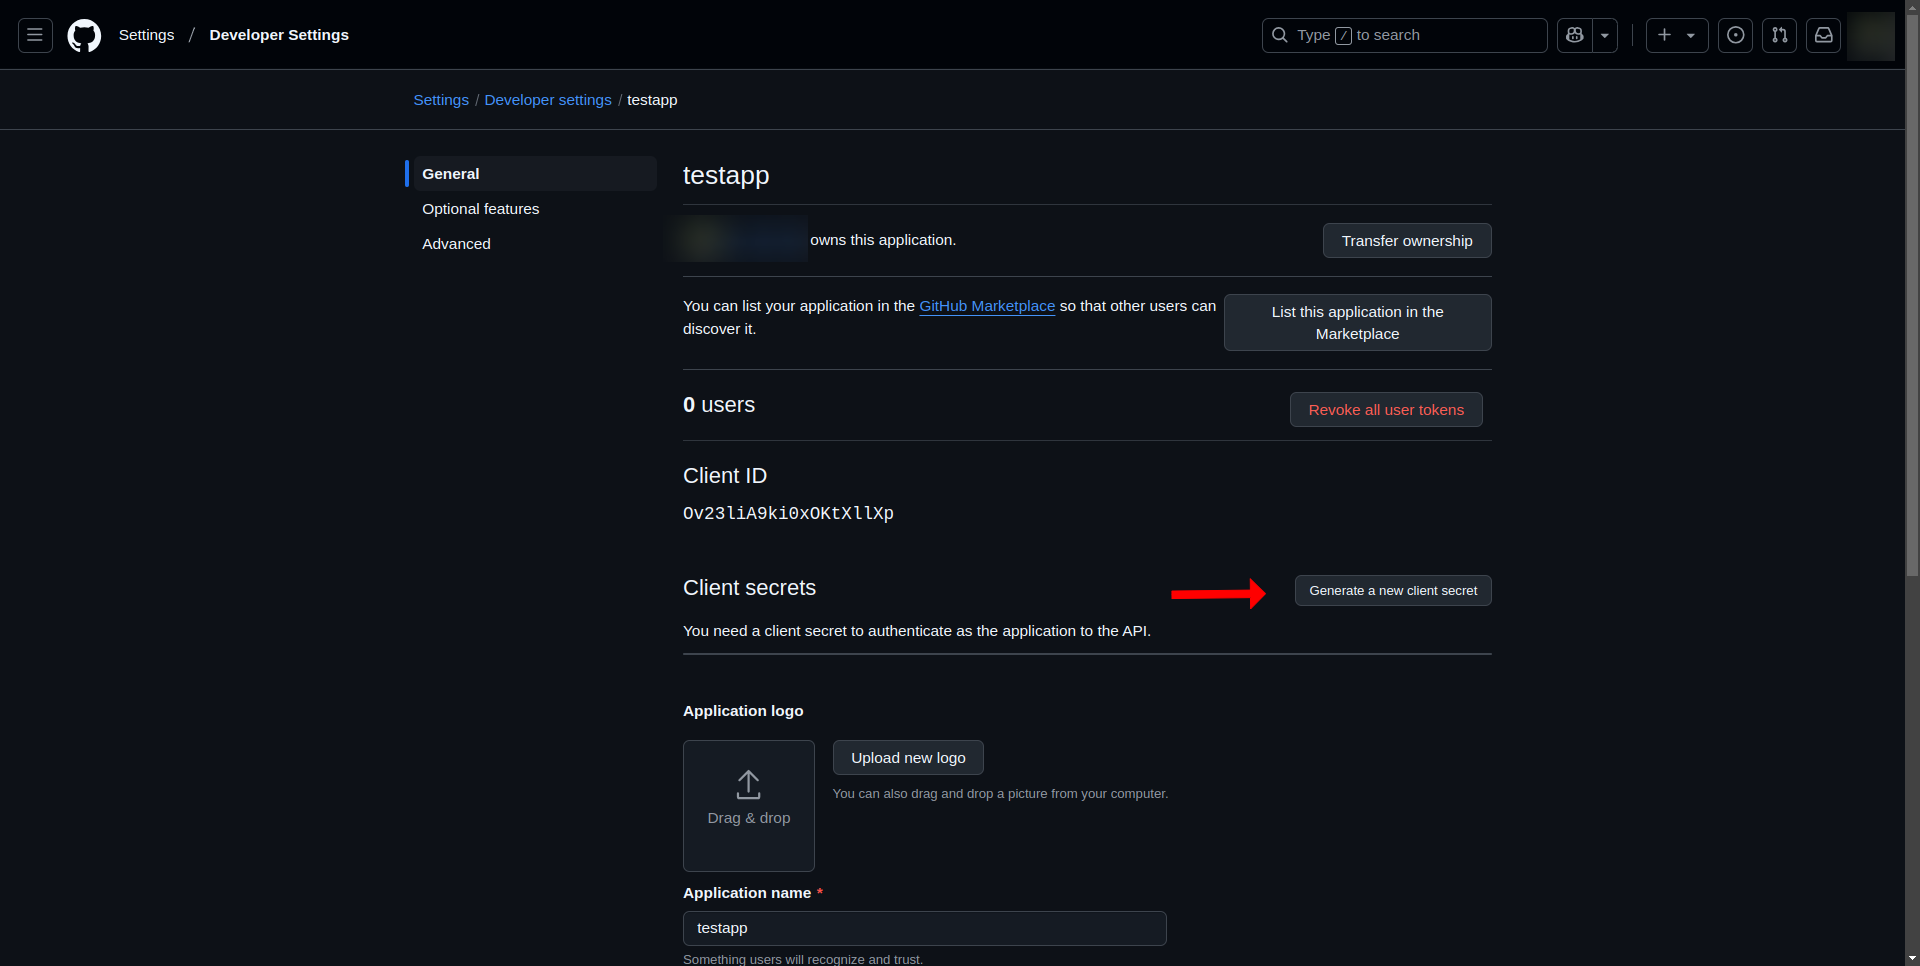
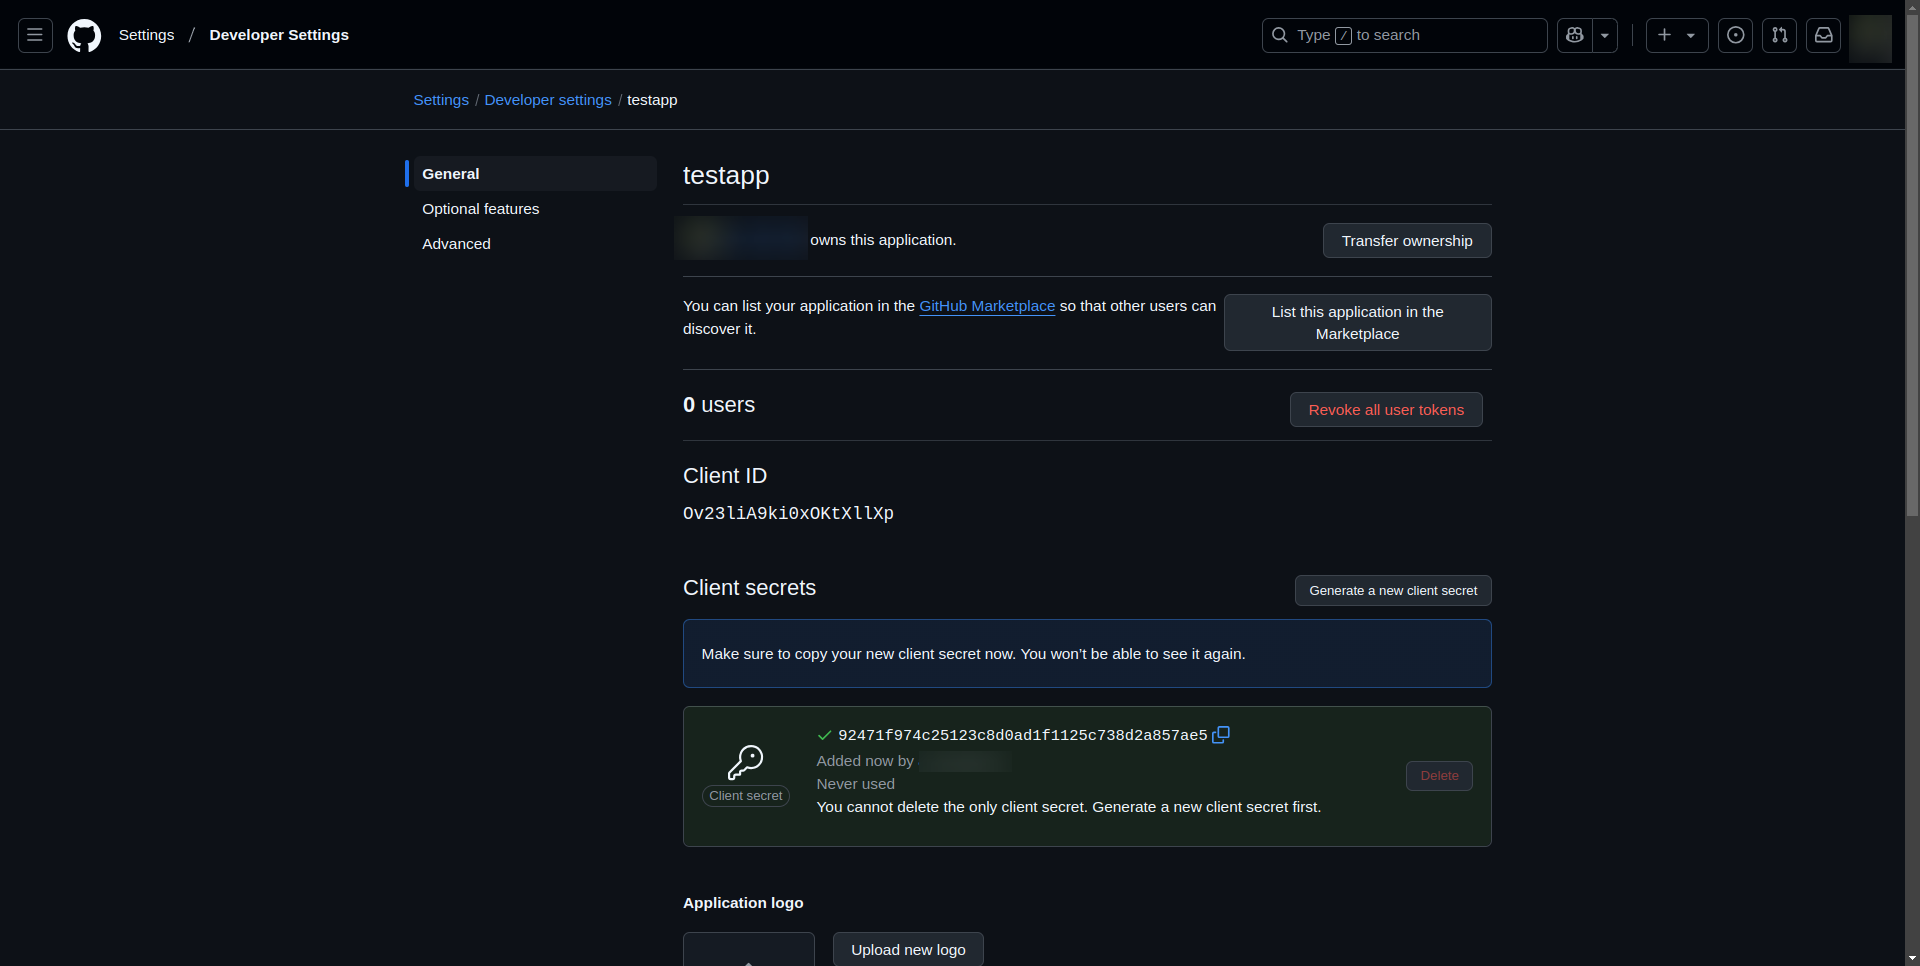
Your GitHub OAuth application is now ready for use in your OIDC configuration.
- The environment variables to use are the following:
OIDC_GITHUB_CLIENT_IDon the frontendOIDC_GITHUB_CLIENT_IDandOIDC_GITHUB_CLIENT_SECRETon the backend
Keycloak
-
Log into your Keycloak Admin Console
- Open your Keycloak Admin Console in your browser (e.g.
https://<your-keycloak-domain>/auth/admin). - Log in with your admin credentials.
- Open your Keycloak Admin Console in your browser (e.g.
-
Select or Create a Realm
- Use the dropdown in the top left to select an existing realm, or click Add Realm to create a new one for your application.

-
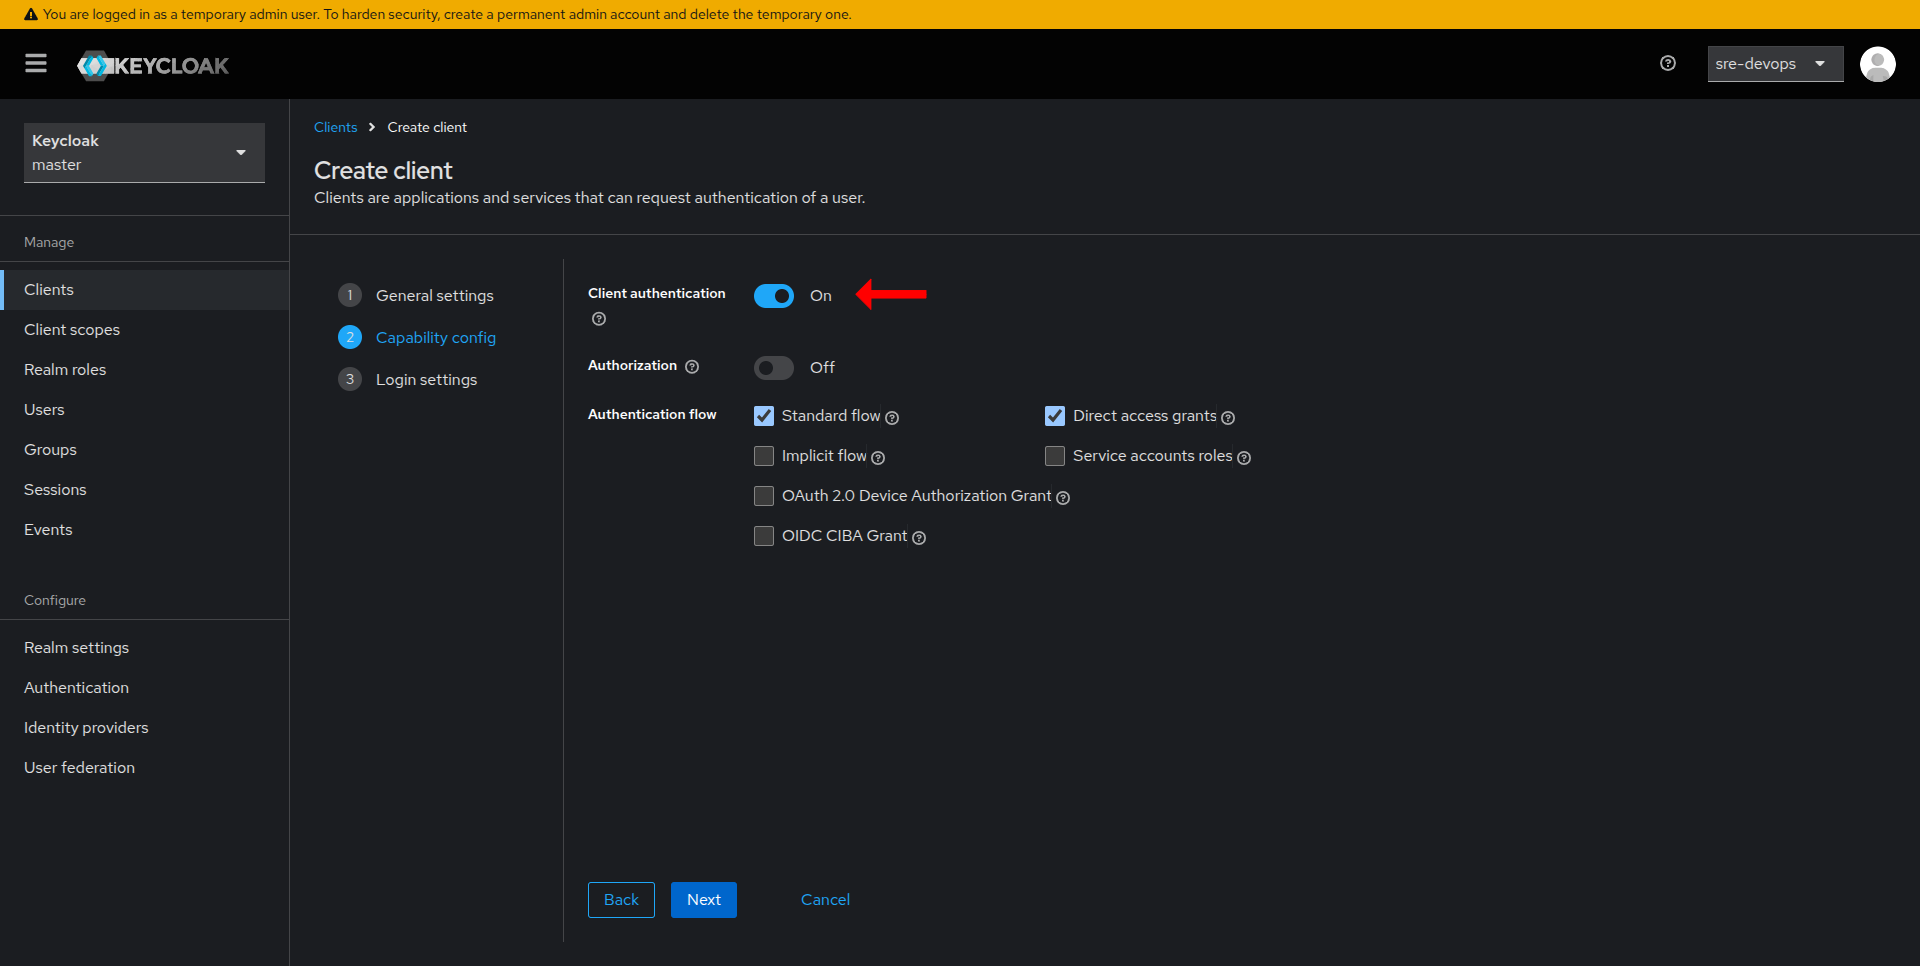
Create a New Client
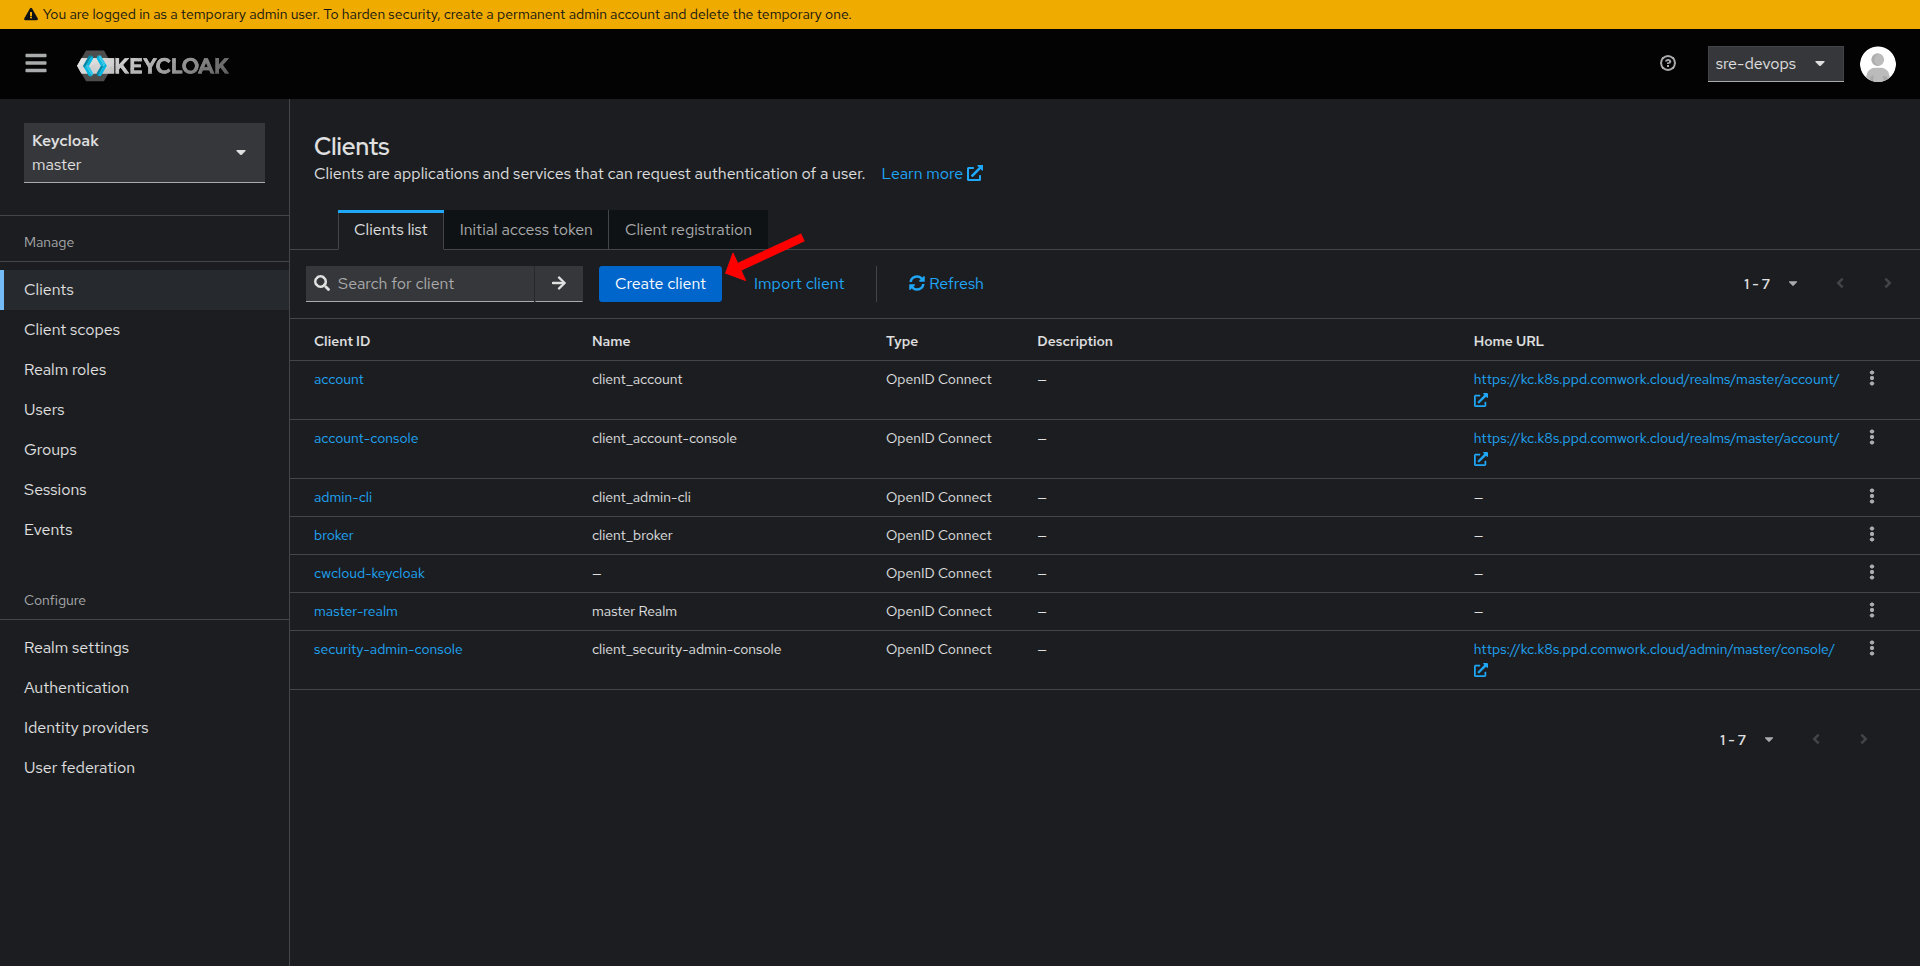
- In the left-hand navigation, click on Clients.
- Click on Create.
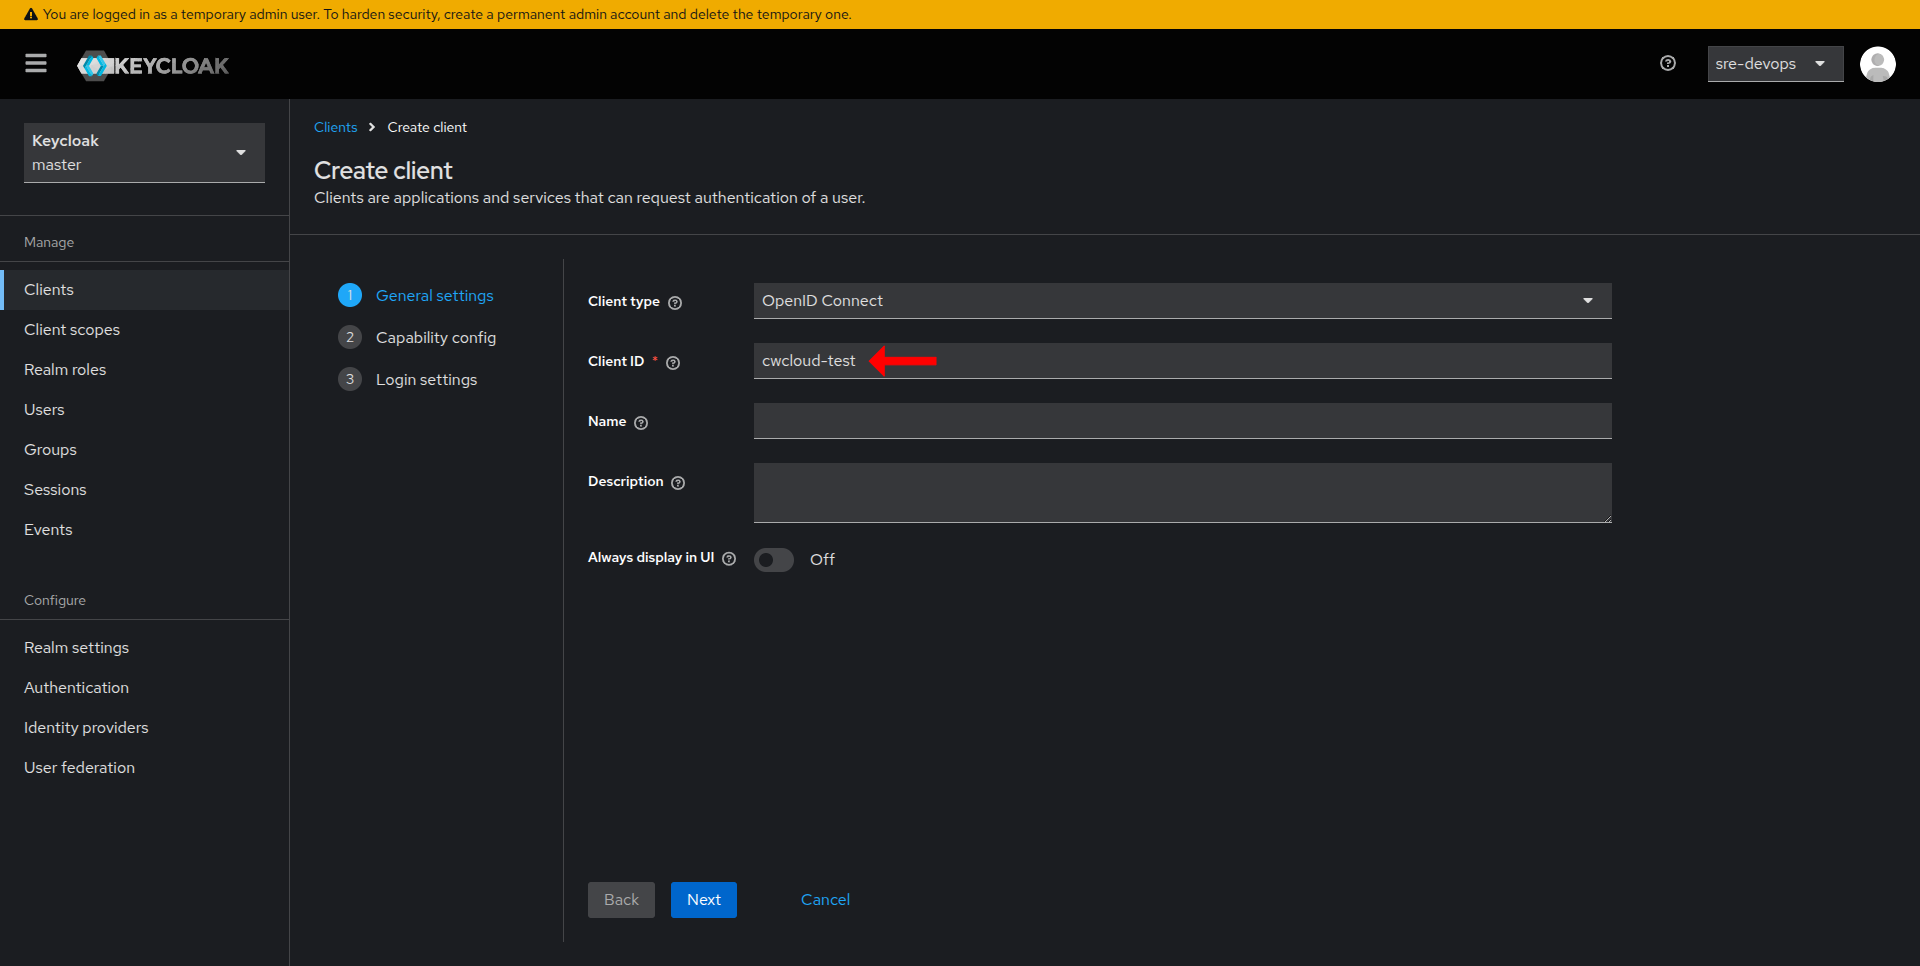
- Enter a Client ID (this serves as your application's identifier) and click Save.
-
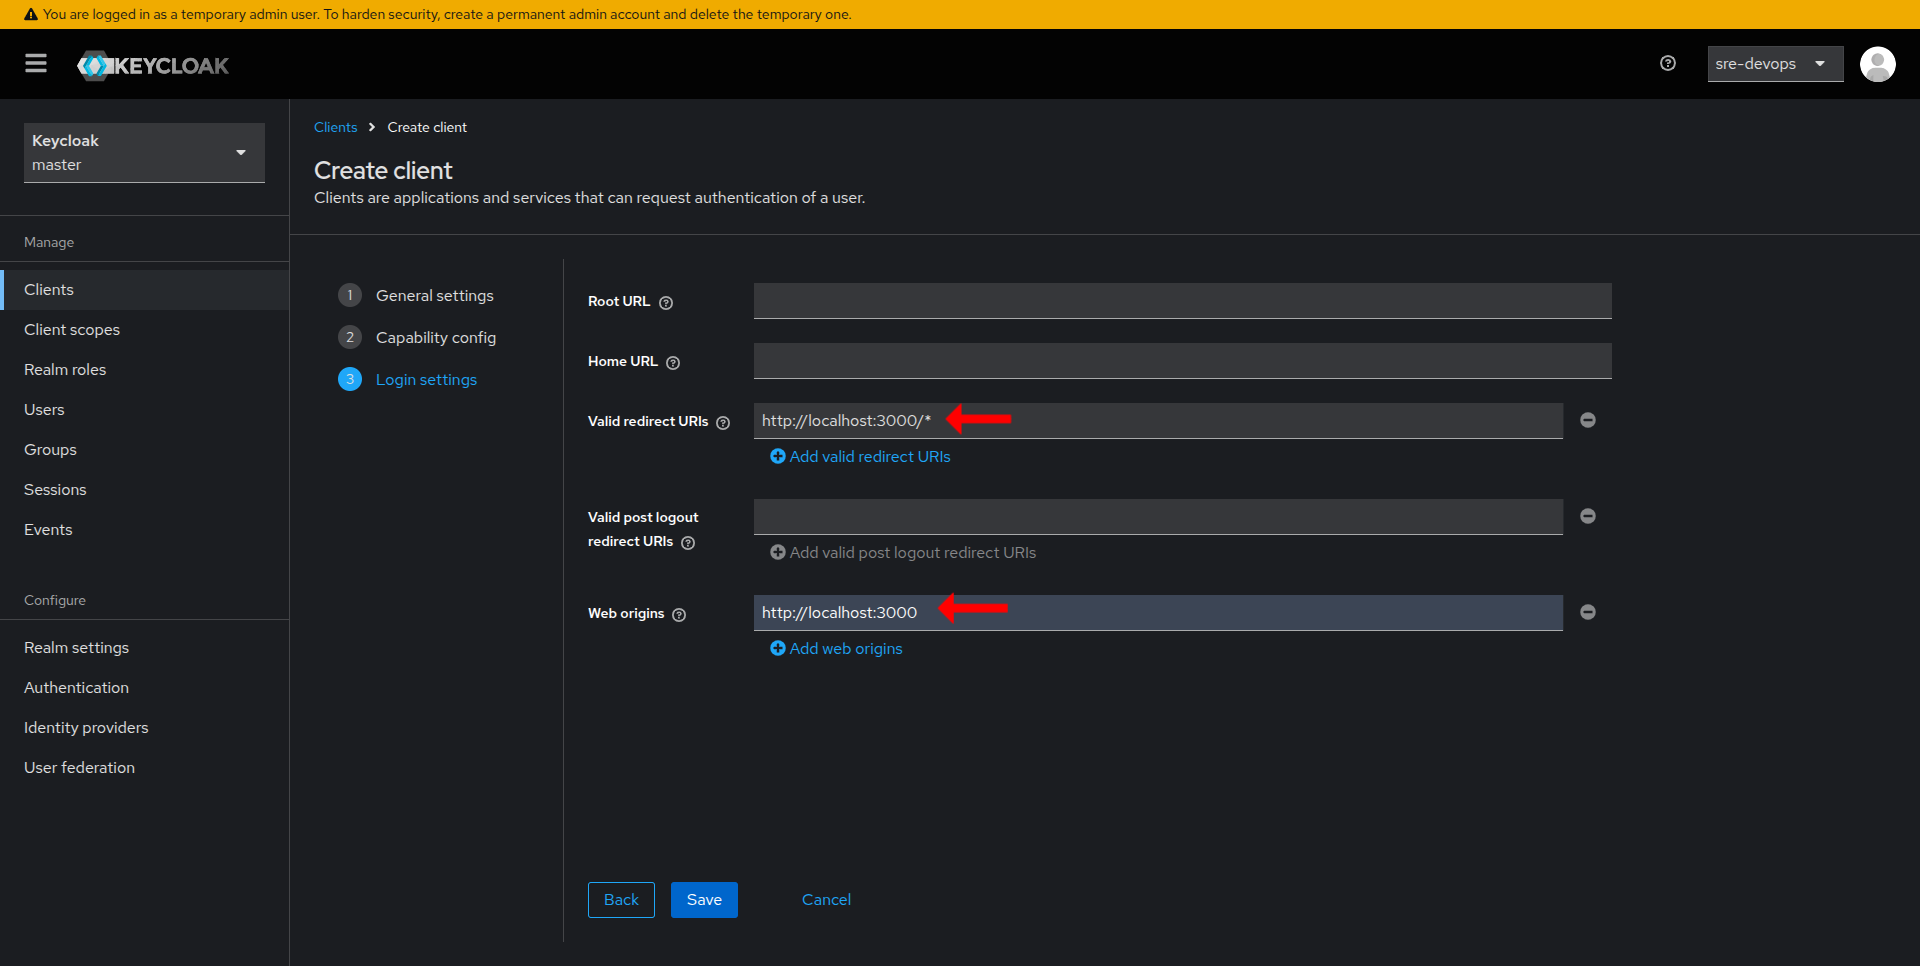
Configure Client Settings
- In the Valid Redirect URIs field, add the URI(s) where your application will handle authentication responses.
- Optionally, configure Web Origins to allow requests from your application domain.
- Save your changes.
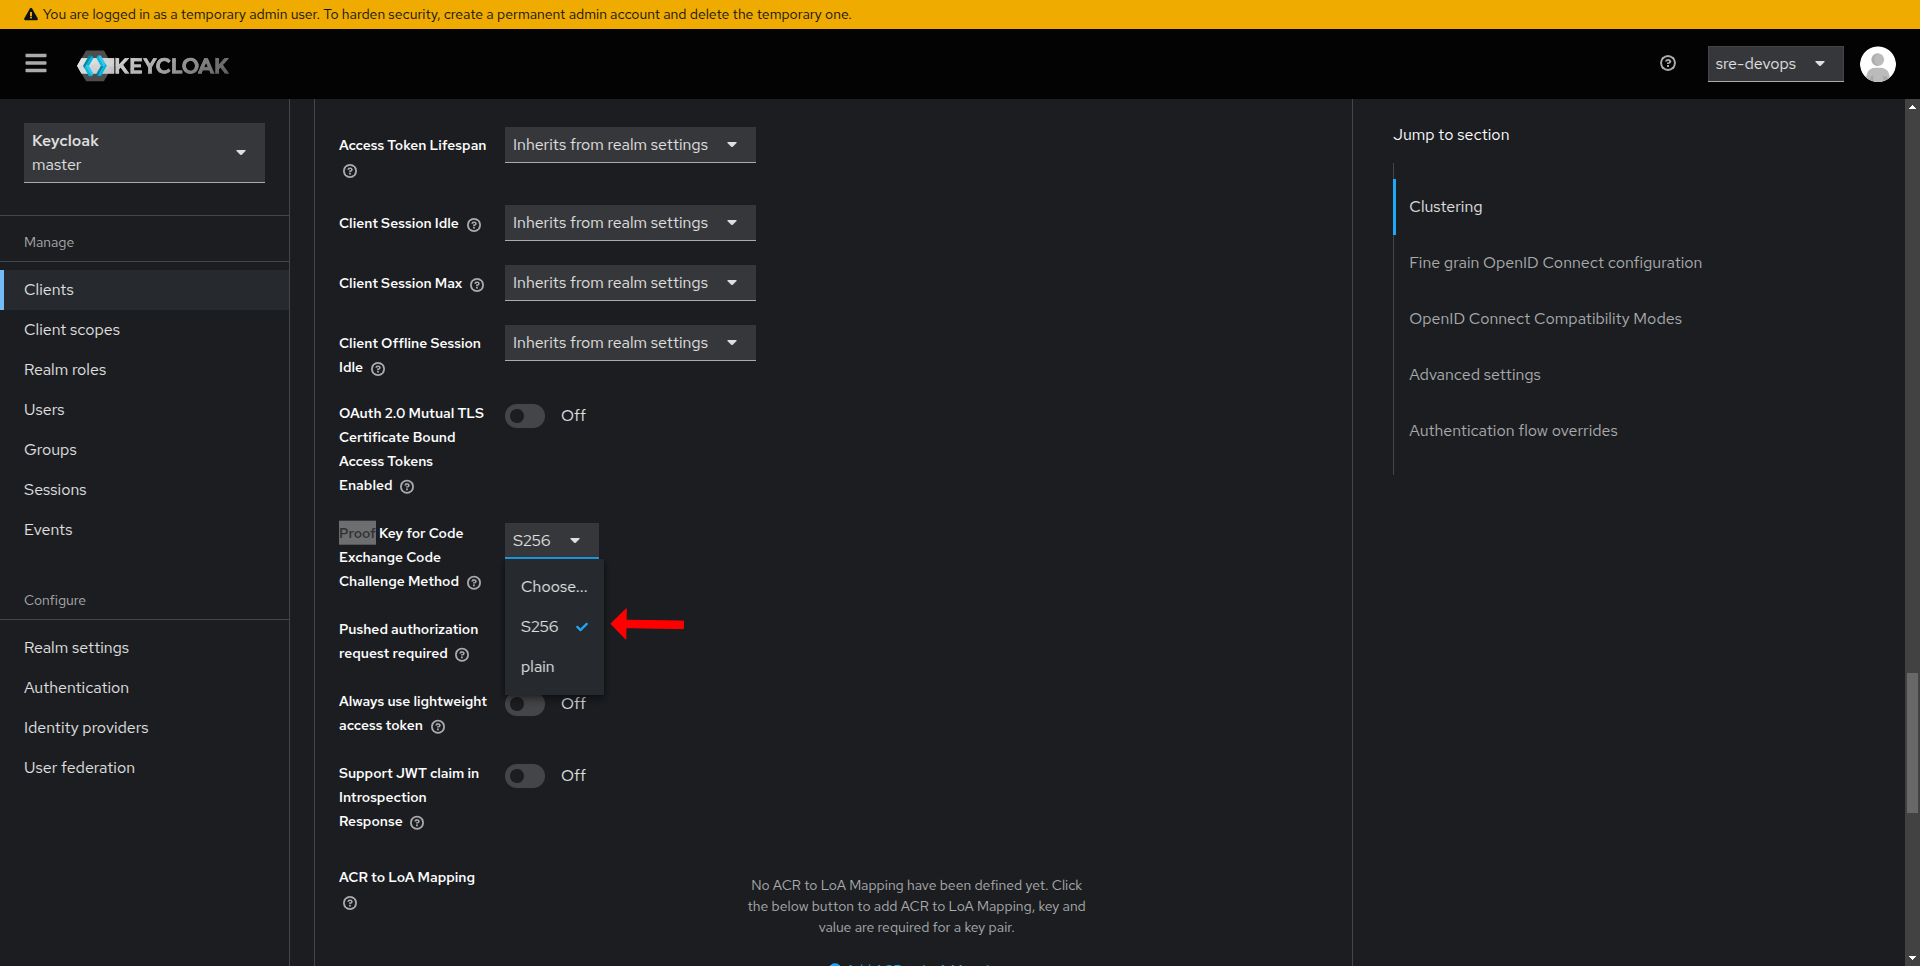
- Click on the Advanced tab for your newly created client.
- Search for Proof Key for Code Exchange Code and choose S256.
-
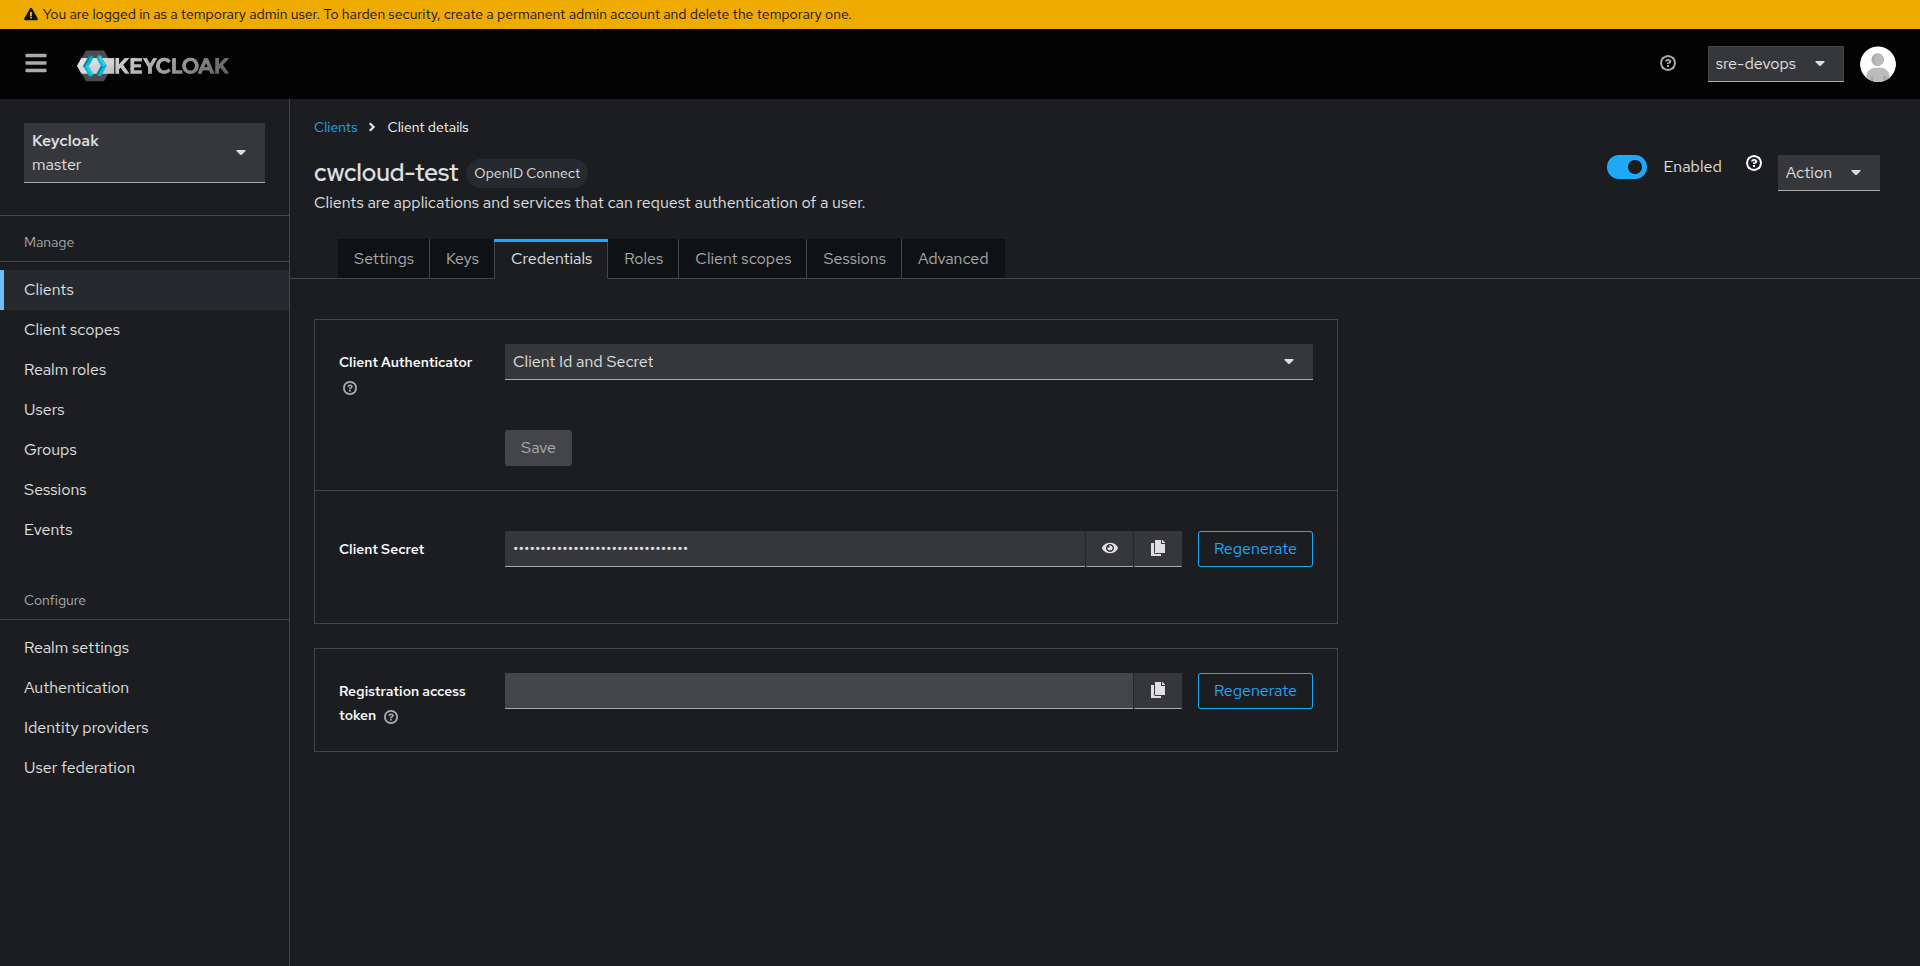
Retrieve the Client Secret
- Click on the Credentials tab for your newly created client.
- Here you will find the Secret (client secret). Copy and store it securely as it is only shown once.
-
Set Environment Variables
- On the frontend, set:
OIDC_KEYCLOAK_BASE_URLOIDC_KEYCLOAK_CLIENT_ID
- On the backend, set:
OIDC_KEYCLOAK_BASE_URLOIDC_KEYCLOAK_CLIENT_IDOIDC_KEYCLOAK_CLIENT_SECRET
- On the frontend, set: